2004 Pontiac Grand Prix Heads Up Display (HUD)
Repair Instructions
These instructions are designed to guide you through the step by step process
of repairing a HUD (Heads Up Display) in a 2004 Pontiac Grand Prix car. These
instructions may also assist with the HUD display repair on similar cars as
well, but are specific to the Grand Prix. Allow 3 hours for the repair, but it
can be done in 2 hours.
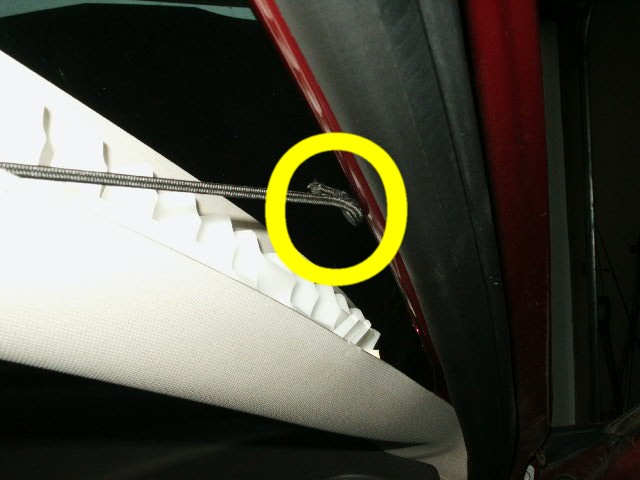
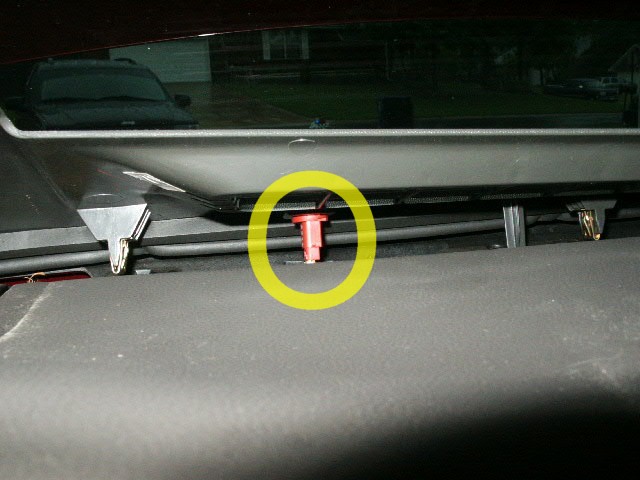
The situation with the HUD in the instruction below was that the display
still worked but was out of alignment due to a problem with one of the mirror
alignment because a spring had pulled through a bracket. You can verify if you
have the same or similar problem by looking through the windshield at the
display. When you look at the display through the windshield, one the driver
side of the display you can see a spring dangling loose at the bottom
connection. This spring actually keeps the mirror in place for the alignment
adjustment motor. When the spring comes loose the mirror drops and the image is
not displayed in the right position. I believe it will make the information
shine at the very top of the windshield.
So, what I did was what someone else had done. I removed the HUD, opened it
up, removed the bracket, drilled a small hole near the area the bracket was
broken in, put everything back together and now it works like new again.
If you do not want to repair it, you can have it replaced or replace it
yourself. I believe the part is something like $385. If you hire the work out at
the dealer, the labor would be about $350. So, all together it could cost
between $700 and $800 to replace. If you replace it yourself it would cost you
around $400. This repair cost me nothing but TIME because I had all the tools.
If you do not feel comfortable doing the repair, print these instructions off
and have your mechanic do it for you.
I try to detail all of the instructions I do to make them so a 10 year old
could follow them. I think this process was a little harder so I would not ask
anyone younger than 16 to do it. If you find them useful and they help you get
your HUD back in order, please take a few minutes and express your appreciation
by leaving me a TIP/DONATION in my PayPal account ($10 would be fine).
Tools Needed:
- Drill
- 1/16" small drill bit
- Small screw drive with a socket end on it
- 9/32" socket, small 1/4 size
- #10 metric socket
- Ratchet
- Small ratchet extension
- Long ratchet extension
- Cross tip (Phillips) screw driver, #2
- Flat tip screw driver, #2
- Small flash light
- Thin leather cloves (any gloves will do)
|
Stuff For Cleaning
- Eyeglass cleaner
- Eyeglass cleaning cloth
- Paint brush
 |
Instructions: Please read the ENTIRE step before you perform it.
- Park the car where it can site for a few hours, disconnect the negative
battery cable. This will reduce the chances of having something short out.
NOTE: Disconnecting the battery cable can erase information stored in the
trip computer so you may want to get any information out of there that you
want.
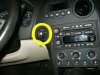
- Remove the ring that is around the ignition key hole. You can carefully
pry around it with the flat tip screw driver. It will slide out.
- Remove the stereo/center control facing. It goes from the top of the
dash, around the stereo & a/c controls, all the way down to the sifter area.
This entire piece just pulls off. I started on the passenger side of it and
pulled the clips loose until it was free from the dash.
NOTE: It has a wire connection near the top that
connects to the information display. You will have to unfasten that
connection to get it totally out of the way.
- Disconnect the wire from the center control facing and place it out of
the way.
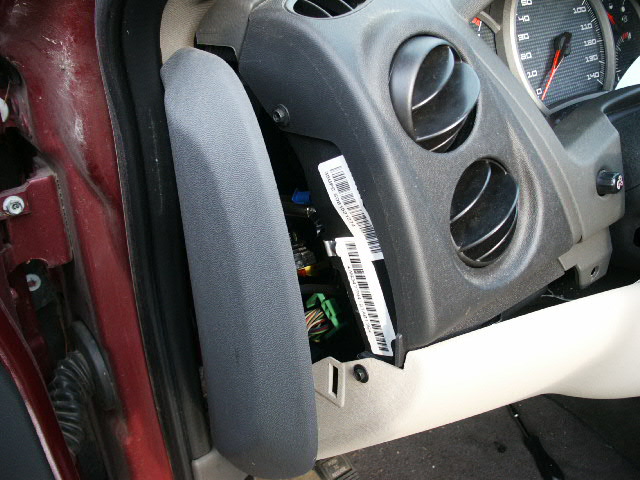
- Remove the side dash panel that is between the door and the left side of
the dash. It just pulls off, has 3 clips.

- Un-secure the OBD-II connector. Look under the dash near the center area
of the drivers side, you will see the OBD-II connector. It has a clip
securing it in place. Take the clip loose and push the connector back a
little so you can get the screw above it out.

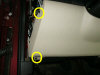
- Remove the knee panel (lower dash panel). Remove the 2 screws at the
bottom and 1 on the left side. Once the 3 screws are out, you can pull it
away from the dash. It has a few guides at the top that hold the top in
place.
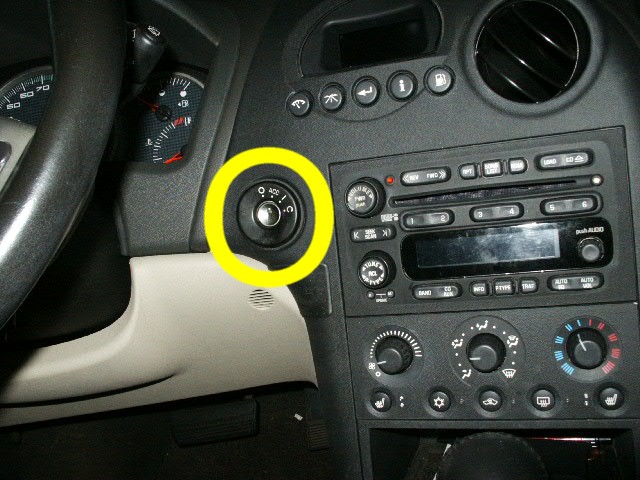
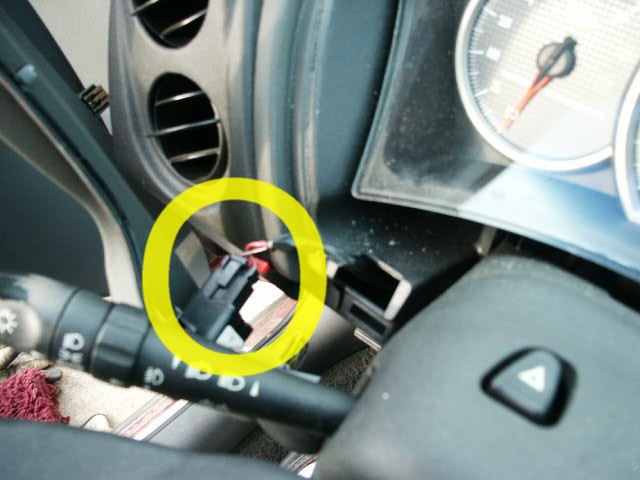
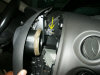
- Remove the panel that goes around the instrument cluster. It does not
have any screws holding it in place, just 3 clips at the top. I pulled at
the top to get it loose, removed the wire that connected the light dimmer,
then lowered the steering wheel and lifted the panel away from the dash.
NOTE: Be careful not to break the wires that connects
to the dimmer knob.


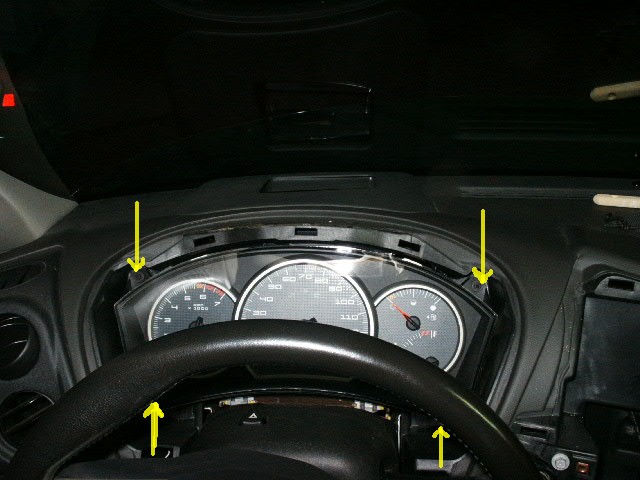
- Remove the instrument cluster. It has 4 screws that hold it in place.
Remove the screws, pull it a little away from the dash, un-fasten the wire
connector that connects to the cluster, then lift it away from the dash.
NOTE: Be careful not to break the wires that connect
to the instrument cluster.

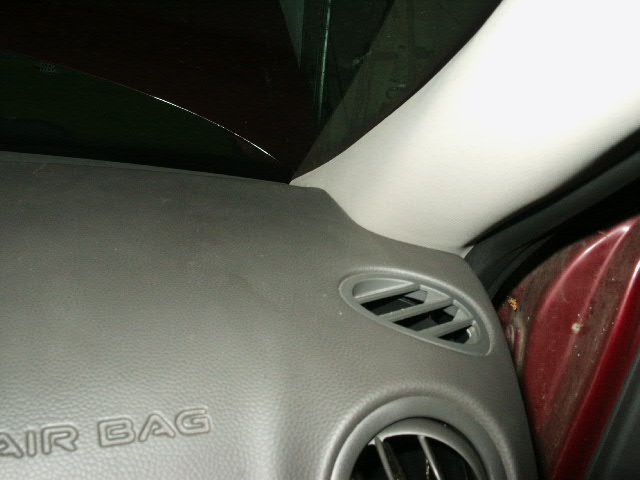
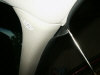
- Remove the side windshield pillar trim pieces/covers. Pull the door seal
away a little to get your finger behind the cover, then simply pull it away
from the top. It has 1 clip (near the top) and a band strap (in the middle)
connecting it. After you get the clip loose, pull the band fastener out of
the pillar frame, then bull the cover back away from the windshield. It will
come out pretty easy.


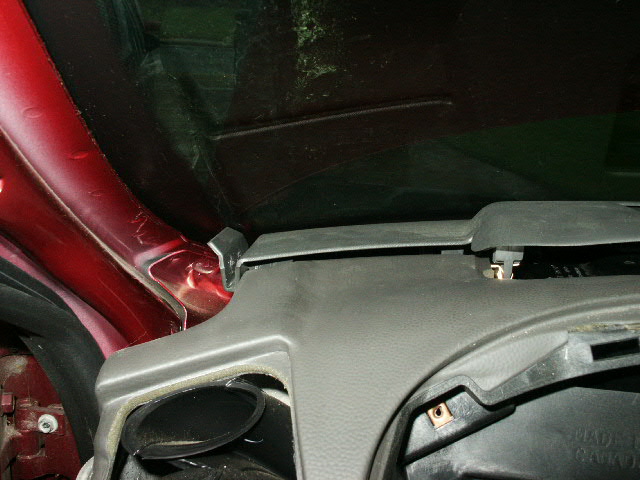
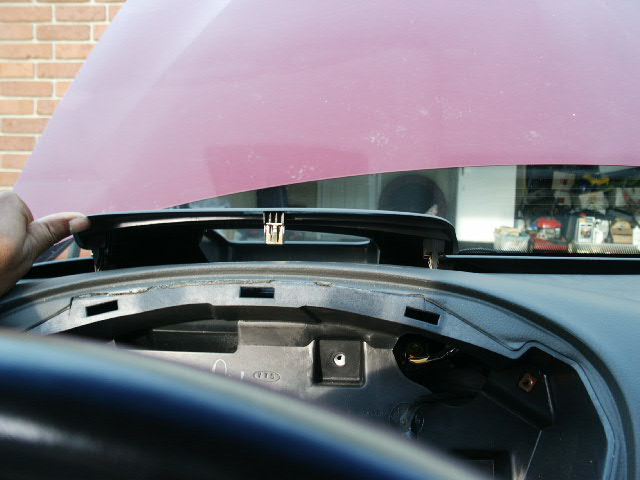
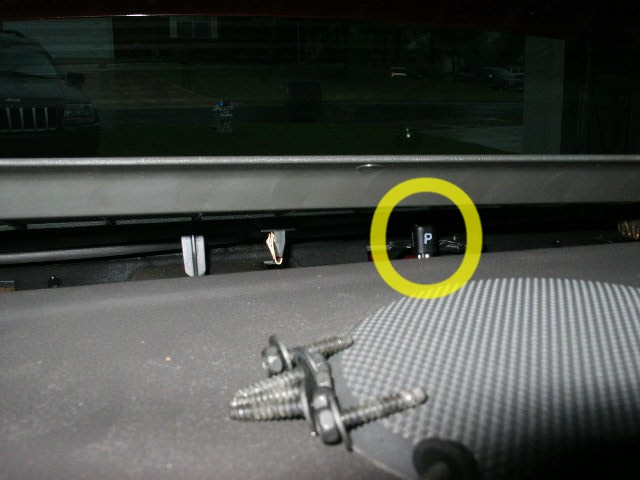
- Remove the most forward part of the dash, the piece that covers the HUD
and goes all the way across the dash at it's most forward edge. This is the
hardest part of the entire process. It has several clips that go across and
the rear edge of it (the edge closet to you) is kind of sharp. I actually
used some leather gloves to protect my hands. NOTE: Be
careful not to break the wires that connect to the alarm indicator and light
sensor. Working from one side to the other, lift the trip/dash piece
up to the windshield to free the clips. Once the clips are free, un-fasten
the wire that connects to the alarm indicator, it turns 1/4 turn and will
come out pretty easy. Then un-fasten the wires that connect to the light
sensor. There is a clip on the back side of it that needs to be released to
get the wires un-plugged (I actually could not un-plug the wire and ended up
pulling the sensor apart. It went back together when I put everything back
but it was a pain). Once you have those 2 wires loose, lift the panel out of
the car. You will have to pull on it a little because it has a good rubber
gasket/seal on the forward edge of it to stop things from going behind your
dash.


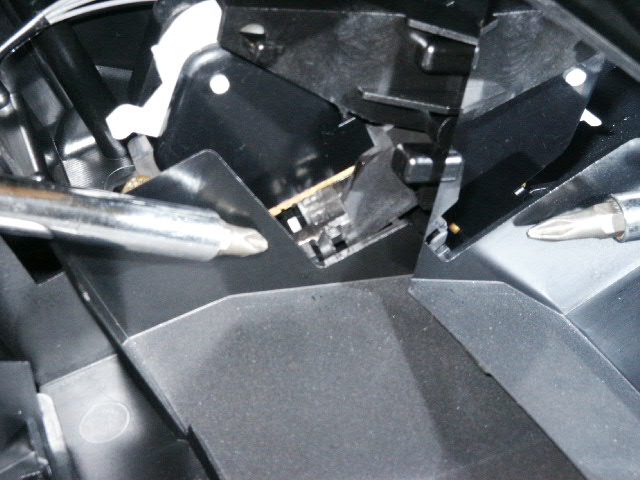
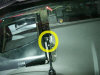
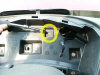
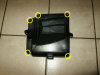
- Remove the HUD. The HUD is held in place by 1 screw, 2 bolts and the
electrical connector. Remove the bolts on either side of the HUD, remove the
screw from the area behind the instrument panel, un-fasten the wire
connectors on the side (passenger side of the HUD), then lift the HUD out of
the dash. I had to slide it out towards the passenger side. Once out, I took
it to my work bench (kitchen counter top :-).

- Take the HUD apart. It has 5 Phillip screws holding it together.
NOTE: Once inside, try not to get your finger prints on the inside glass or
mirrors.
- Remove the light or sensor that connects the top to the bottom. Do not
want to break any wires while it is apart.
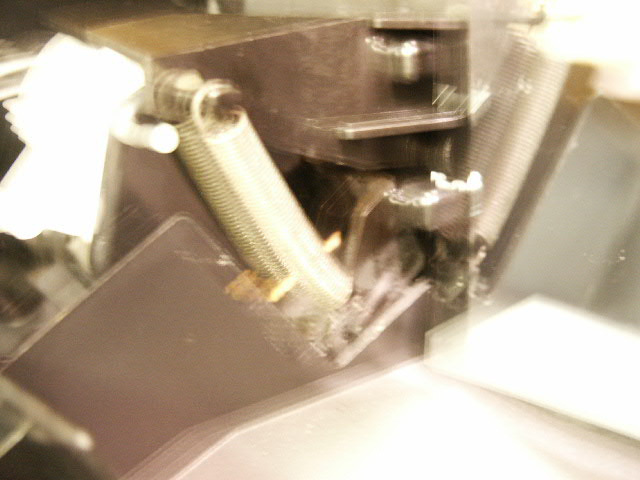
- Remove the forward mirror. The one that tilts and has the broken spring
connected to the left side of it. I think there is a screw on the right
side, once I remove the screw I lifted the right edge out then the left.
NOTE: Watch how this is in because if you do not put
it back right your display will not work properly.
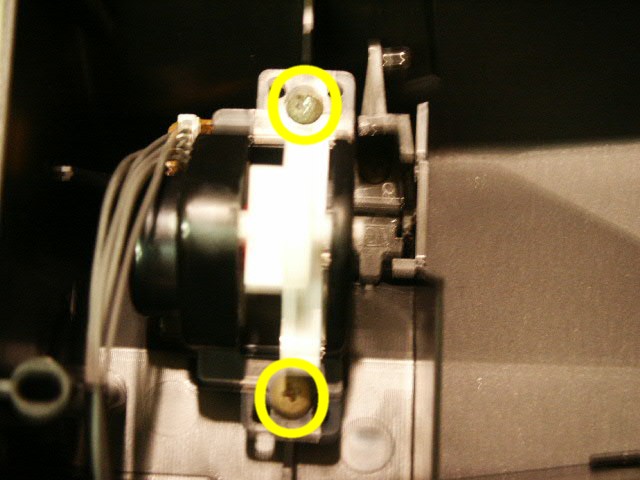
- Remove the left side bracket. You will need to remove the bracket to
drill the hole in it. You have to remove the 2 screws that hold the motor in
place to get the bracket out.

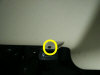
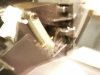
- Drill a hole in the bracket. I drilled the hole just right of where the
spring pulled through the plastic (see photo). I guess someone could use
epoxy of something to fix the split but why chance it.

- Install the spring. You can do it now or after you put the mirror back
in.
- Install the bracket and secure the adjustment motor back in place.
- Install the mirror. You can install the spring now if you have not
already done so. If you dirtied the mirror, use a lint free cloth to clean
it. I use eyeglass cleaner stuff to clean it (spray & cloth).
NOTE: Put everything back together in the reverse order. You should
clean/dust everything as you put it back together. Cars can look like new when
you clean & dust things that you normally can not reach when it is together.
Remember to leave me a tip for these instructions. (If you decide to run
around town fixing these as a side business, please remember to send me a kick
back :-))