Dash Dimmer Switch Replacement, Volvo 850
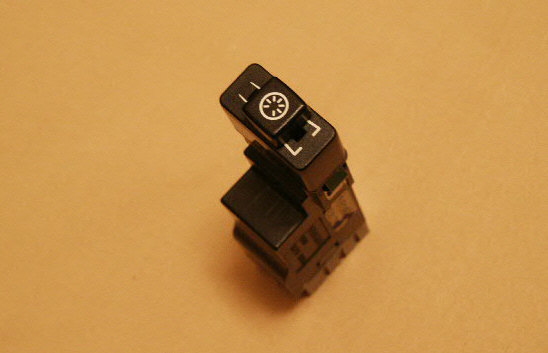
If you have a Volvo 850 that is having problems with all of the dash lights, chances are, your dimmer control has gone bad. I personally like adjusting the brightness of the dash lights from daylight to night, especially during road trips, I like the dash pretty dark so I can see down the road better. When my dimmer went bad, I would start the car and the dash would be dark, I would adjust it with no visible effects. Then I would start driving and all of the sudden, about a minute or so later, the dash lights would make several adjustments as if I was making the adjustments at the time. I guess it was making the adjustments that I made a minute or so ago. Just gone crazy. I got another dimmer and the problem was instantly resolved. I also had one that would only work full bright and had no dimming effect. All was dark until the slider was about 75% towards the full bright side, then it would go on full bright. Had to replace that one as well.
It take about 10 minutes to replace the dimmer. Instructions below.
Tools Needed:
| Standard Flat Tip Screw Driver | Round Object, Ink Pen or Sharpie (used as a wedge) |
Instructions:
-
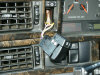
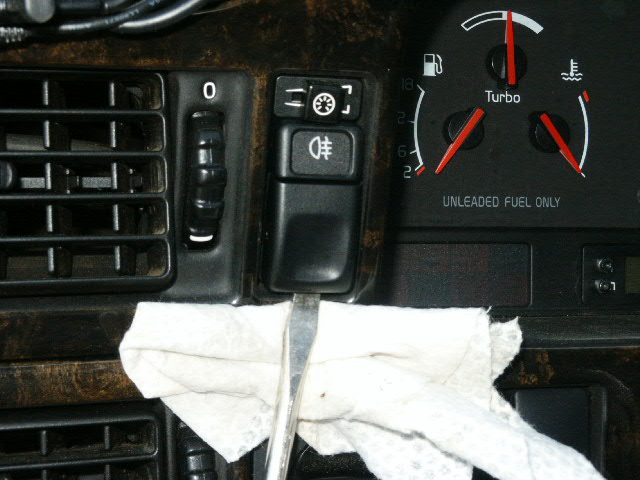
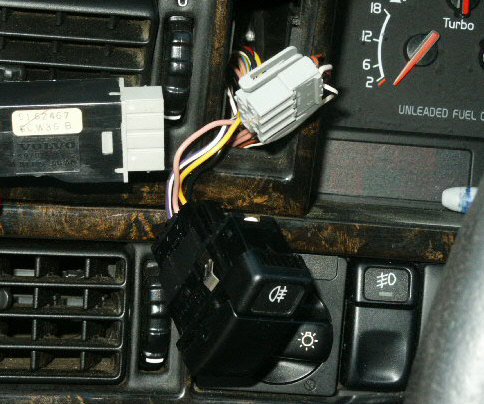
Remove the rear fog light switch, it's directly under the dimmer. I used the screw driver to gently pry it loose from the bottom while using the pen to protect the dash. Pull it away from the dash.

-
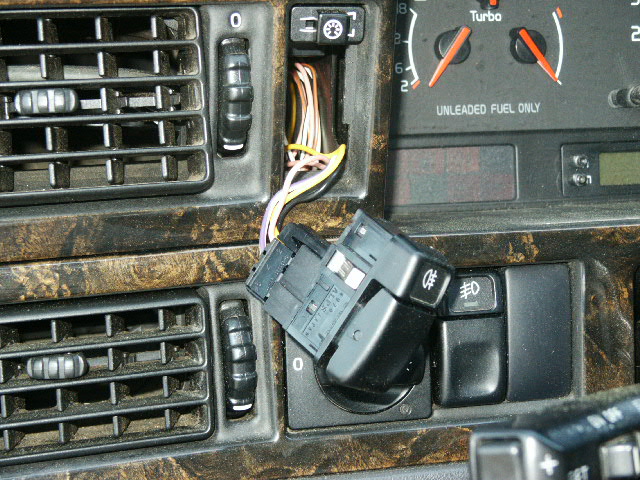
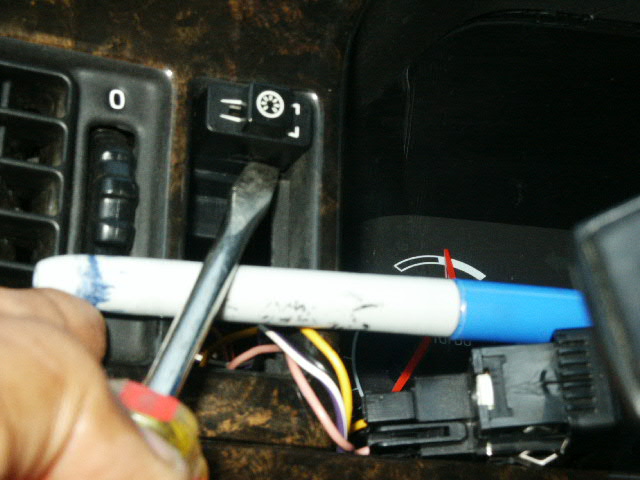
Using the same tool combination, put the pen in a position to allow you to use two hands to wedge the screw driver in a way to pry the bottom of the dimmer and pry it out a little. Once it starts coming out you can grab it with your fingers and pull it out of the dash.

-
Once the dimmer is pulled out of the dash the connector simply pulls apart from the dimmer. It takes two hands and it's kinda hard to unplug so pull hard (be careful not to pull the wires out of the dash to far/hard).

Please leave a donation, see the bottom of this page.
End of instructions.