Center Console Removal - Volvo 850
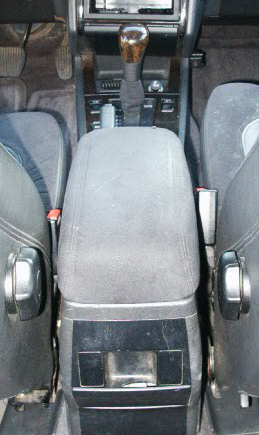
I wanted to replace the light in the shifter area of my Volvo 850 so I had to access the area under it. The only way to get to it is to get under it, really to remove it. I did not totally remove it, just lifted it out of the way. It only takes a few minutes and has 6 screws. The piece goes from the back of the arm rest all the way under the radio.
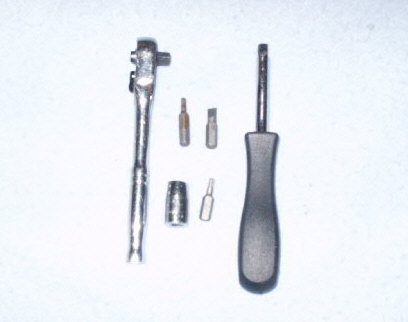
Tools Needed:
| Torque Bits - T25 and T15 | Small Ratchet Driver |
| Small Torque Bit Driver |
Instructions:
-
Remove all the stuff you have on the console area and arm rest.
-
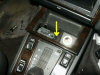
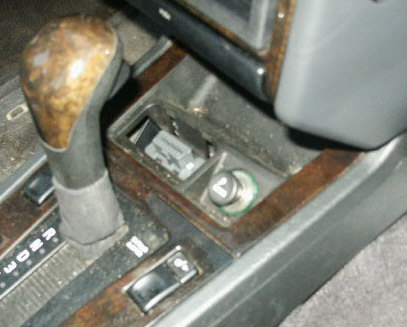
Remove the cover to the OBD-II / Coin holder and the lighter.
-
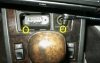
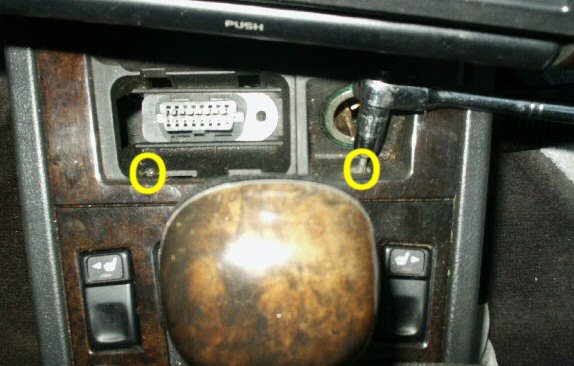
Remove the 2 torque screws (T25) in the most forward center console piece. One screw at the coin holder the other at the lighter hole.
-
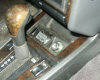
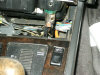
Once you have those screws out, pull up on the section (don't totally remove it before you disconnect the connections), work it out towards you. Then release the OBD-II port if installed. I used a screw driver to pry up on the passenger side tip. Then unplug the 3 wires to the lighter. Then remove the forward section.
-
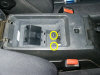
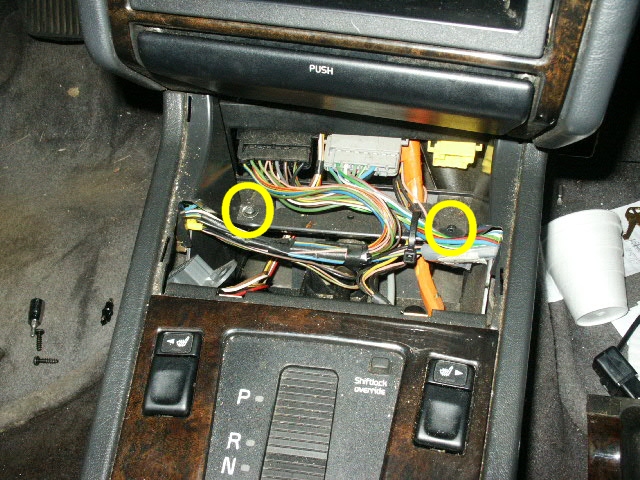
There are 2 screws under that section, remove those screws, T15.

-
Open the armrest and remove the access panel from inside the armrest.
-
Remove the 2 screw that are under that access panel.
-
Set the parking brake. You do not want the car to roll away.
-
Pull the car out of gear and put it in drive. You will probably have to turn the car on and press the shiftlock or press on the brake to get the car out of park.
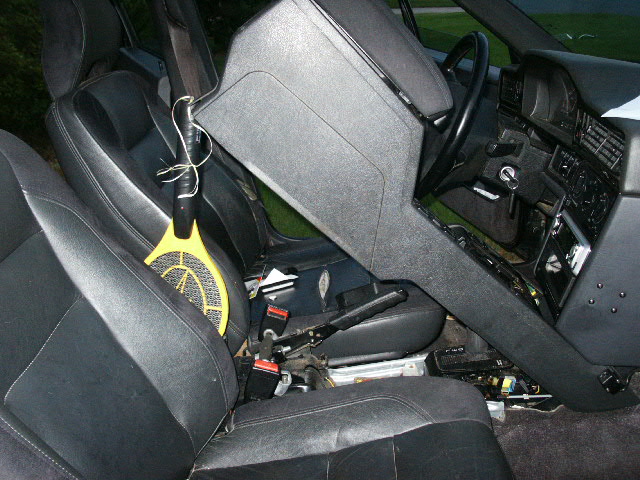
NOTE: When you remove or lift the console out, it is likely that you will scratch the shifter knob. You many want to protect it with something like a rag, etc. -
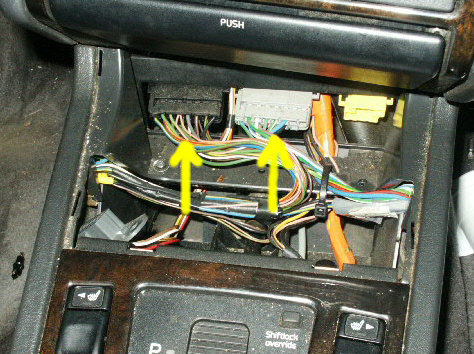
If you are just going to lift it to replace the light at the shifter, go ahead and lift the console from the armrest section and use something to hold it up. If you need to totally remove the console, you will need to unplug the connectors at the forward edge of the console.


-
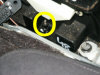
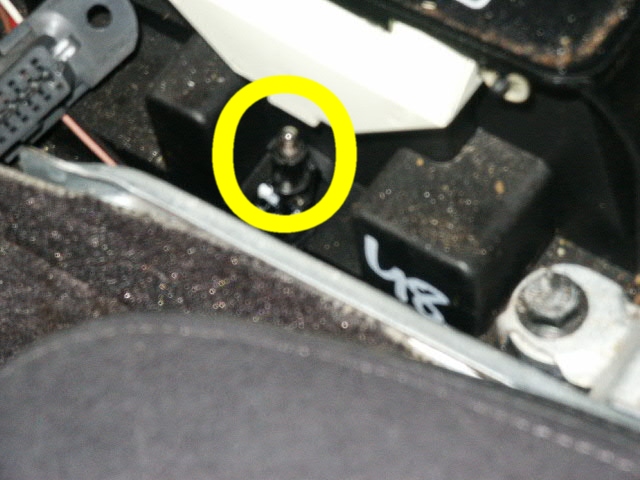
Replace the light at the shifter from the drivers side. It simply pulls out of the plastic housing and the bulb assembly unplugs as well.
-
Installation is simple and reverse of removal. Be careful to tuck the carpet in under the console when you lower it in place.


Please leave a tip, see the bottom of this page.
End of instructions.