These instructions will guide you through the process of replacing the front cam seals on the Volvo S70 GLT, 1998, B5254 motor. I believe you can use these instructions to replace the cam seals on all of the S70, V70, 850, and maybe even the 960 & S90 model Volvos. The only difference would likely be the timing belt instructions, if there is a difference.
It is important to determine what caused the seals to leak. It is not normal for them to leak unless the PCV system is clogged and pressure is building in the head. Also, worn valves or pistons can cause pressure to build in the head. You may want to do a compression test to make sure the motor is in good shape.
My daughter lives about 150 miles from me and she called complaining
that her car was running rough. I figured it was missing and needed
tuned up so I swapped cars with her. When I got the car home, I noticed
that it was leaking oil and found that one source of the leak was the
cam seals, they were leaking just a little. We purchase the car about 19
months ago and quickly learned that the PCV system was plugged. So I
replace the PCV system about 3 months into our ownership. About 6 months
later (approx 11 months ago) I decided to switch oil and started using
full synthetic oil. I have heard that weak seals and minor oil leaks
will intensify when you switch to synthetic. Well, a week after I had
the car I hit the gas at a fresh green traffic light and blew two of the
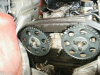
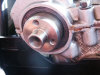
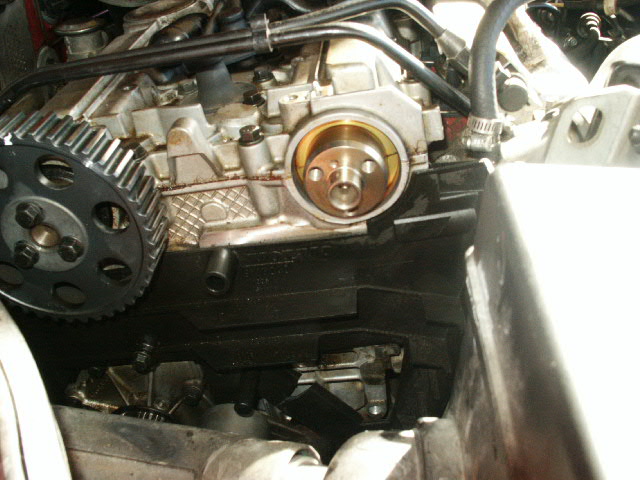
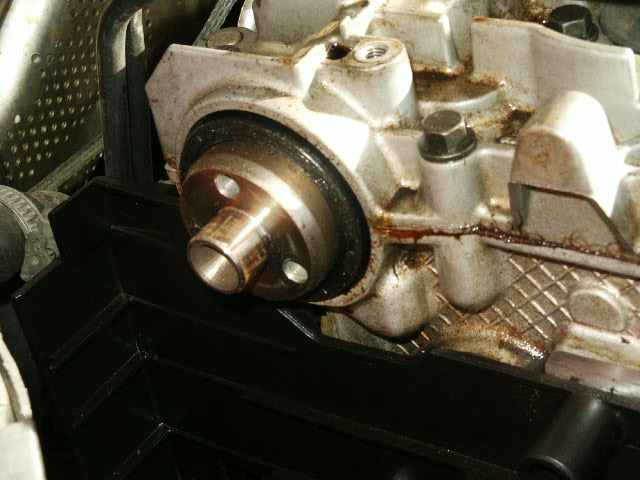
cam seals totally out. If you look close at the photo above you can see
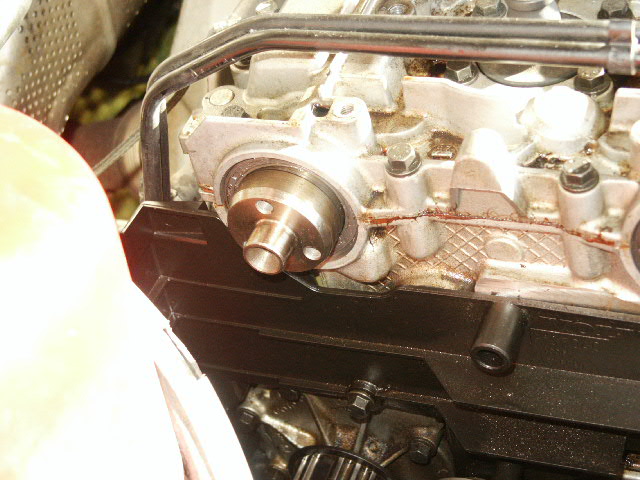
that the aft seal is almost totally out of the motor. You can actually
see how far the seal was out in the photo below.

I believe the key to completing this job successfully is marking key parts in the motor and using genuine Volvo seals. The car has about 150,000 miles on it and I found after market seals in the motor :( . I suspect that the seals went bad because they were replaced with the PCV system plugged and the fact that I switched to synthetic oil. I did do a compression test that resulted with great readings. So I moved forward with the seals replacement.
Tools Needed: In addition to the tools needed to do the timing belt, you will also need the following...
| Sprocket holding tool or make your own. | Very small flat tip screw driver |
| Cam seals, Volvo P/N: 6842272 | 12 mm Socket |
| 10 mm Socket | Socket wrench |
| Torque wrench | Jack stand |
| Metal file | White out correction paint |
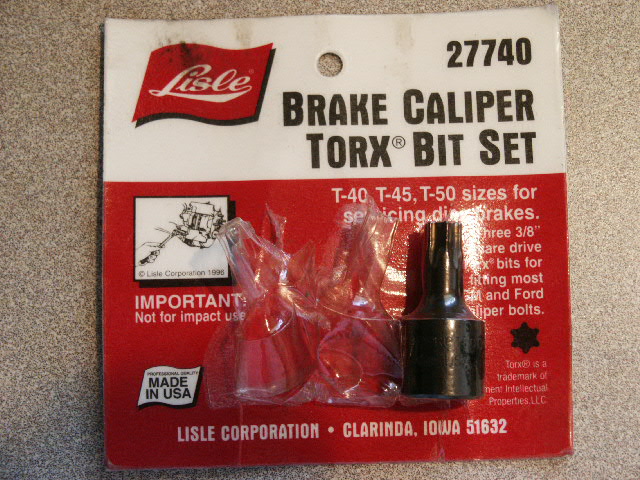
| Good, professional grade T-45 bit | 30 mm Socket (or 1-1/8" socket) or a good adjustable jar wrench to turn the crankshaft. |
| General purpose grease | Anti-Seize compound |
| Cork to cap the coolant line |
Instructions: Read each step in it's entirety before doing the procedure. It will help you avoid breaking parts, harming yourself, etc..
NOTE: Mark everything you need to so you can get things lined up correctly when you put things back together. I did NOT but the person before me did which saved me. The cam gears pivot on the bolts which can cause you to misalign the cams when you put things back together (misaligned cams can destroy your head).
- Park the car where you will work on it for several hours.
- Jack car on the passenger side.
- Install a jack stand.

- Remove the passenger front wheel.
- Loosen the splash guard and push it aside.

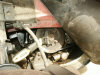
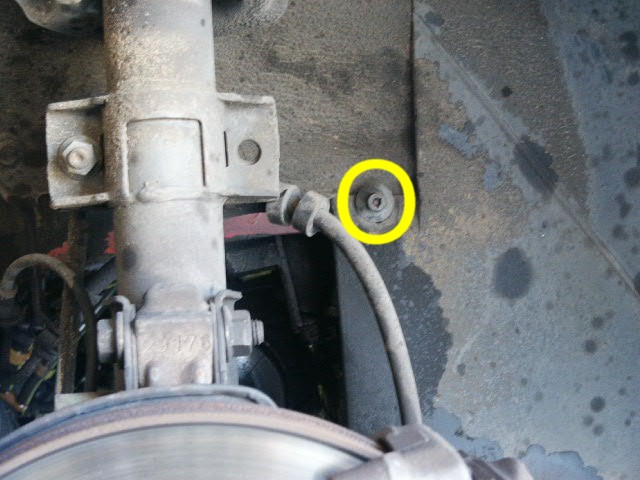
NOTE: This will be a good time to check the lower right motor mount to see if it is still good or torn. I think mine was fine when I did the job but today it is torn. Look close and see the lower bolt resting on the mount rubber.

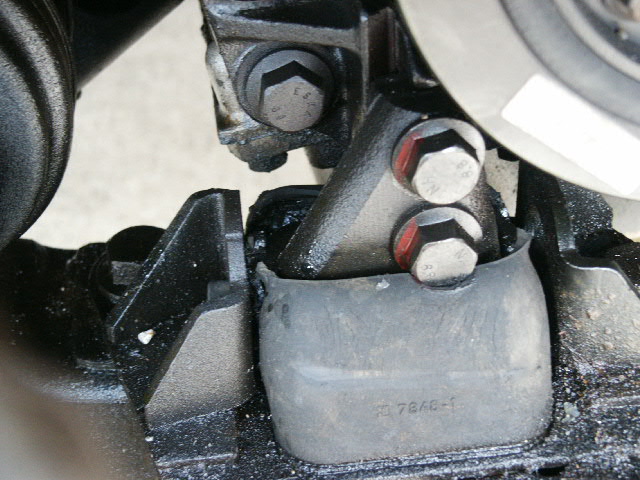
- Move the coolant reservoir tank. Take the overflow line loose
(1/4" socket), plug the hole for that line with a cork or ink pen
cap, lift the tank off the bracket, unplug the wire connector on the
bottom of it, and rest it on the strut mount.


- Remove the timing belt cover (1x 12 mm bolt).
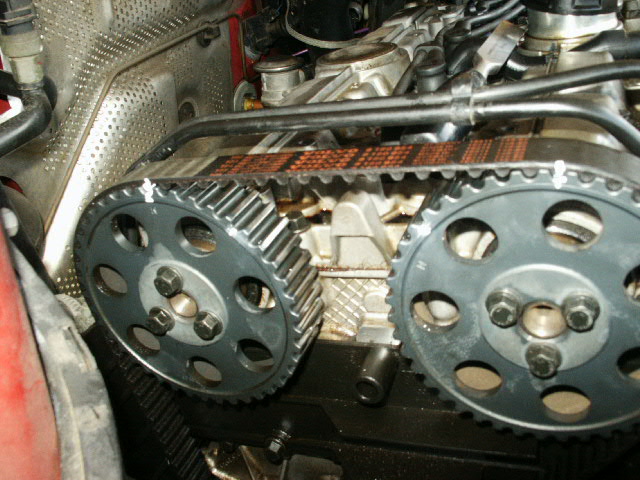
- From inside the wheel area, align the cams so the timing marks
are aligned.
- With the timing marks aligned, make sure you have clear markings
in the cam gears with the top timing cover still installed.
- Mark the notch in both gears clearly.
- Mark the old belt with white out so you can count the teeth between the gears.
- Mark the gear that matches the notch in the top cover with white out.
- Mark the cam gears where they meet the shaft with the metal
file. Use a metal file or some other metal object that will put a
permanent mark on the gear, other marks like white out might wash
off.


WARNING: When you loosen the bolts on the end of the cam gears and remove the belt those gears will pivot on the shaft. The marks will help you get it aligned properly when installing the gears. - After you have the cam gears marked, break loose the 3 bolts (10
mm) that hold the gears on the cam shaft. I bumped them loose with a
standard 3/8" ratchet. It would be a good idea to hold the gears in
place with the sprocket holding tool.


- Proceed with removing the timing belt components as outlined in
the timing belt removal instructions. If you have not done so yet,
remove the top / rear timing belt cover.
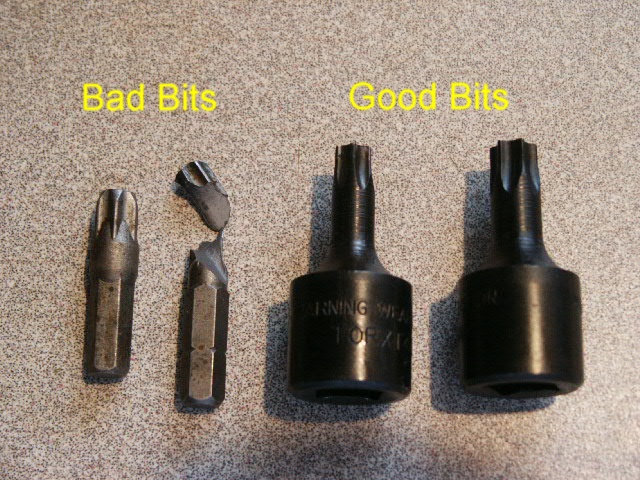
WARNING: Make sure you have a good T-45 torque bit to remove the tensioner roller if you are going to remove that bracket. A cheep bit will cause you to strip the bolt and cause you a lot of problems.


- Once the t-belt is removed, remove the cam shaft gears.

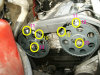
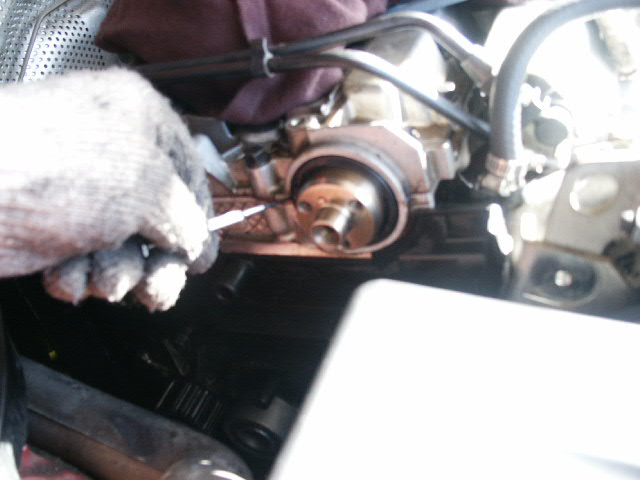
WARNING: Try your best not to move or twist the cams with the belt off, especially when you are removing the seals. - With the small eyeglasses size flat tip screw driver, work the
cam shaft seals out.


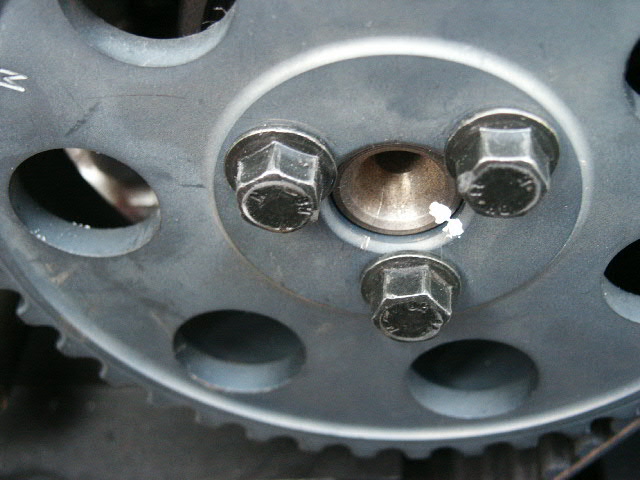
NOTE: Example of old seal coming out.

- If you see some excessive head sealant, scrape it off with a screw driver or something. Do not scratch the seal mating area.
- Once you have both seals out, grease the new seals and push them
into place. You may have to tap them in with a socket extension tip
or something. Whatever you do, do not damage the seals or cam shaft.
Also, be careful not to push the seals in to far, they should be
flush with the motor housing. I actually use the old seals to help
seat the new seals.

NOTE: New seal in a little to far. I left it there, did not want to damage it trying to get it out.

- Once you have the new seals in place, install the gears and make the bolts finger tight.
- Align the marks on the cam shaft shaft and cam shaft gears and
snug the bolts in with the ratchet wrench. Use the sprocket holding
tool if you have one. I did not.


- Install the rest of the timing belt parts using the timing belt instructions.
- Once you have the belt tensioner retaining pin removed, and the
slack is out of the belt, and you are confident that you have
the gears in place properly, torque the gear bolts to 18 ft. lbs.
NOTE: I am not sure what the proper torque value is, that is what I decided to torque the gear bolts to. - Rotate the crank shaft 3 complete turns past the marks on the cam shaft gears to make sure the marks align back up properly.
- Re-torque the cam shaft gear bolts. If you have the sprocket took, use it. I did not, so I just made sure the shaft did not jump a timing belt tooth.
- Cross your fingers and start the motor. Check back for leaks in 100 miles.


Please leave a tip, see the bottom of this page.
End of instructions.