Compression Test - Volvo S70 GLT, 1998

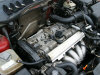
These instructions will guide you through the process of performing a compression test on a 1998 Volvo GLT, turbo. It is a pretty simple process. I performed a compression test because the car blew 2 cam shaft seals and I wanted to make sure that the pistons, valves, etc. were in good condition and there was not a problem that would cause the head to build up excessive pressure. I believe my cam seal problem was caused because the PCV system was clogged when we first got the car, I switched to full synthetic oil, and the seals that were in the motor were after market seals.
Compression on a turbo should be between 156 - 185. On the NA (naturally aspired), non turbo motor, 189 - 219. It is not uncommon for results to be less, depending on the gauge. If all numbers are low it is possible the gauge is bad, at that point you need all numbers to be with 15% of each other, worse to best.
Tools Needed:
| Compression gauge, basic | Torque driver, T-30 |
| Spark plug socket adapter | Ratchet wrench |
| Torque wrench | Spark plug gap spacer |
| Torque driver, T-25 | Anti-seize compound |
- Warm up the motor. Some do it cold, I was told to do it with a warm engine.
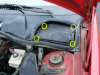
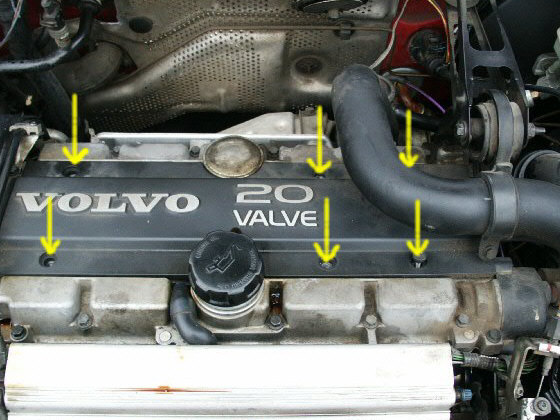
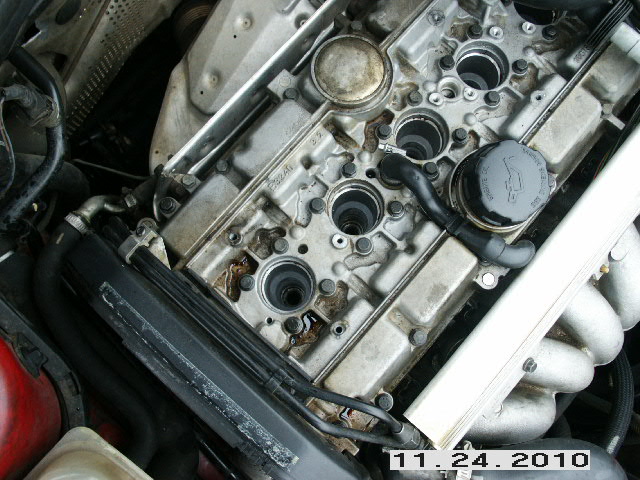
- Remove the spark plug wire cover. It
has 6 x T-30 screws.

- Pull the spark plug wires off
the plugs.
- Remove all of the spark plugs.

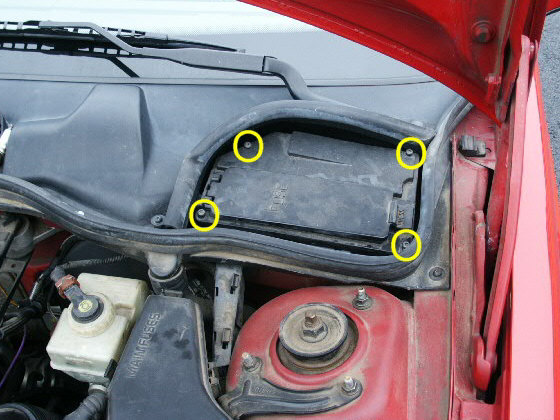
- Remove the fuse box cover.
- Remove the
fuel pump relay. Number
103, just pull it out.


NOTE: The reason for the relay removal is you have to crank the motor several times without starting it to check the compression. You do not want to be dumping fuel in there in there each time. - Remove the ground wire from the ignition coil. This will help avoid damage to the ignition system.
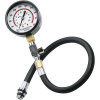
- Screw the gauge into one of
the spark plug holes.
- Go into the car, press the gas pedal all the way down (WOT) and crank the motor. It will make a funny sound. Count the sound 8 to 10 times.
- Go out of the car and read the gauge. Record the number and watch it for a few seconds to make sure it doesn't bleed off.
- Bleed off the pressure with the button on the gauge.
- Remove the gauge and test the next cylinder. The cylinders are usually numbered from the front of the motor (timing belt end) to the rear.
- After you test each cylinder, record
the numbers.
NOTE: All readings should be with 10% of each other. If you have a low one, you can test it to see if it is a problem with the block or head.
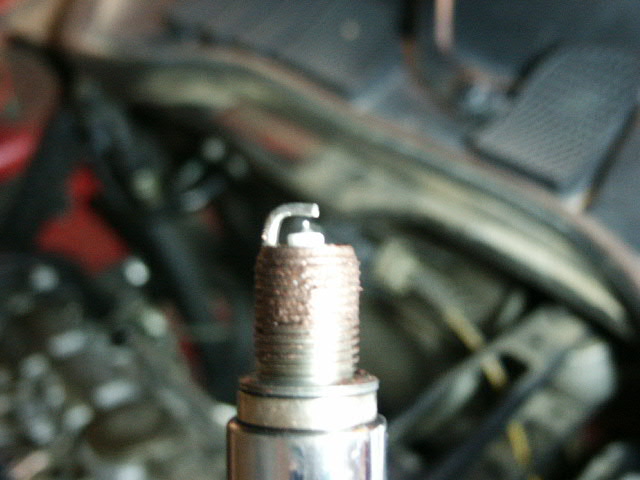
NOTE: To test a certain cylinder. Spray a little oil in the cylinder, recheck the pressure, if it holds pressure, it's a problem with the block (piston, etc.), if it does not build pressure, it's a problem with the head (valve or something like that). - Install the spark plugs. You should
use anti-seize compound and torque them to 18 ft. lbs.

NOTE: This is a good time to check your spark plugs to make sure they are in good shape. Also, the gap should be between .028 and .030. - Install the spark plug wires.
- Install the spark plug wire cover.


Please leave a tip, see the bottom of this page.
End of instructions.