Dash Pad Removal, Volvo 850
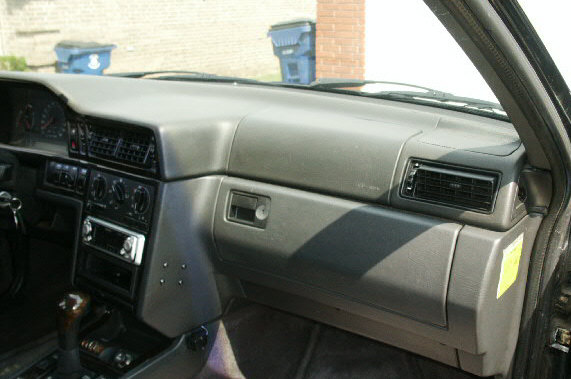
The top of the 850 dash is removable. It can be removed in 30 minutes, installed in about the same amount of time. There are a few reasons to remove the pad, for replacement (when the air bag cover is pealing or it is cracked), when you need to replace the air bag, or when you want to remove the cluster. Some people take the left side of it loose to remove the instrument cluster but you run the risk of cracking the plastic under the dash cover when you do that.
Before removing the pad, it would be a good idea to check the lights in the cluster to see if any of the light bulbs needs replacement. Check the back light of the cluster as well as the lights in the clock/temp/trip computer.
Tools Needed:
| T-25 Torque Driver | 10mm Socket |
| Small tip Screw Driver | 1/4" Ratchet |
| Standard Flat Tip Screw Driver | 1/4" Short Extension |
Instructions:
WARNING: These instructions will request that you disconnect the air bag. It is possible that something can malfunction and discharge the air bag. It has never happened to me nor have I read (or heard) of it happening to anyone else. I'm just saying, it's an air bag and it can discharge. If you have any concerns about the air bag malfunctioning and deploying, please do not remove the dash pad with these instructions.
-
Disconnect the battery. This is necessary to avoid tripping the SRS airbag code.
NOTE: It would be a good idea to get your radio code because you will need it to unlock your radio once you reconnect your battery. -
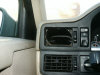
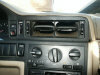
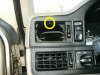
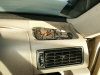
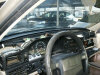
Using the flat tip screw driver, pry 3 of the vents out. The 1 closest to the driver's door and 2 in the center.

-
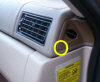
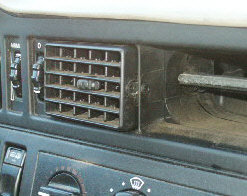
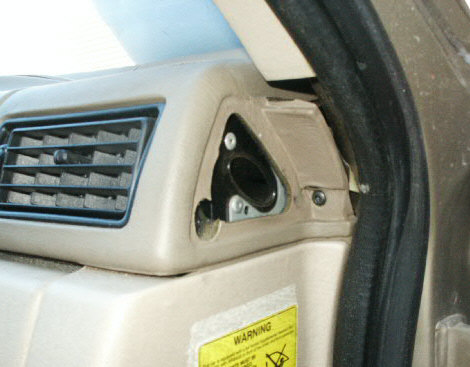
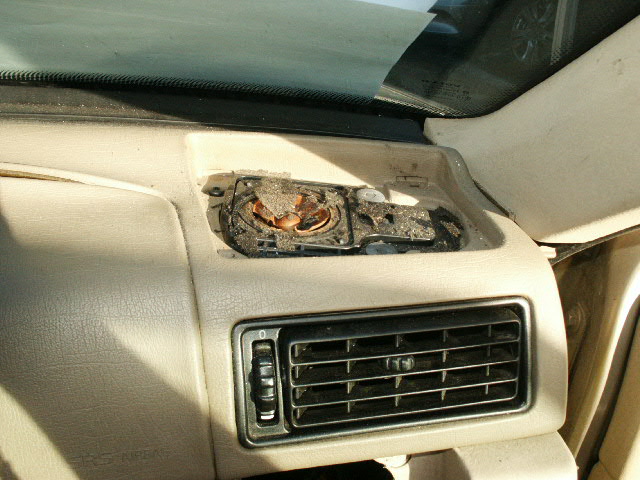
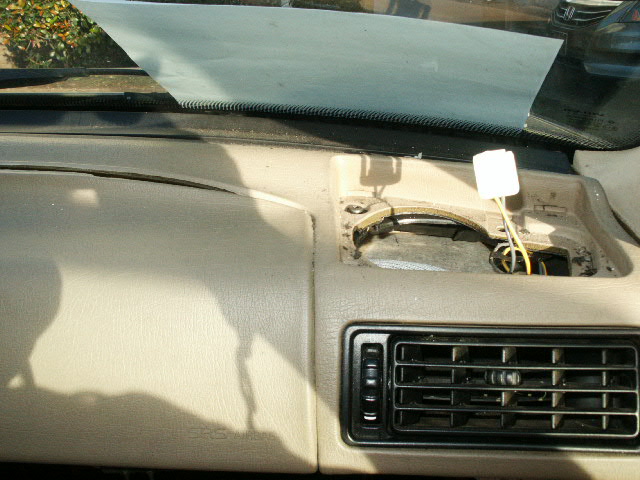
Starting on the drivers side, take the small round cap off with the small screw driver or some other very thin pointed item. (Pics of other side, same process).
-
Remove the screw from inside the air guide, then remove the air guide from that end of the dash pad. It seems as if you push it towards the front of the car it comes out a little easier.

-
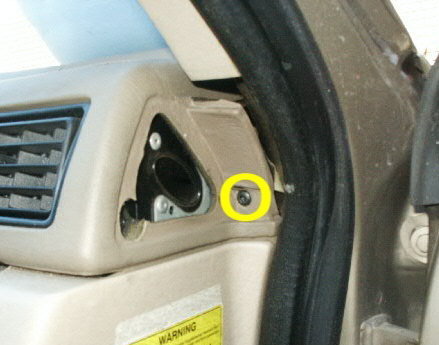
Remove the screw behind the air guide.

-
Remove the speaker cover from that side of the dash pad. It is easier if you can lift the grill from the forward edge and pull it out after that edge is lifted up.
-
Using a small driver, remove the speaker by pushing in on the center of the speaker push rivets just a little. Push the middle pin in about 1/8 of an inch and they will lift out of the speaker base. Remove both rivets and lift the speaker base up and work the tip of the speaker out of the dash pad. Once the speaker is loose, simply pull the connector loose from the speaker.
-
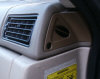
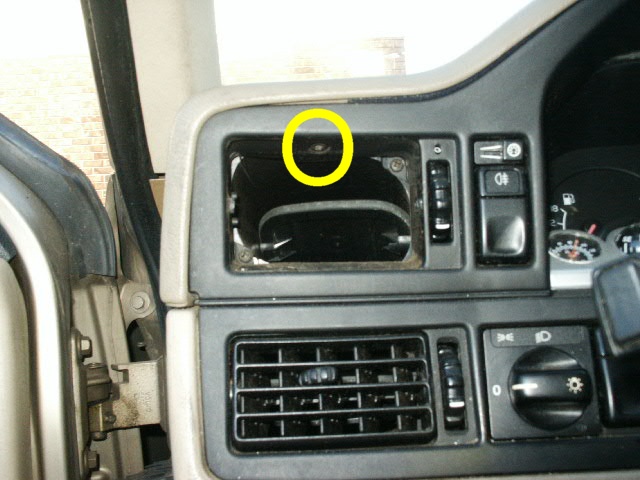
Remove the screw from the top of the air vent hole.
-
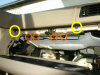
Remove the 2 screws from the top of the cluster frame.

-
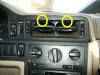
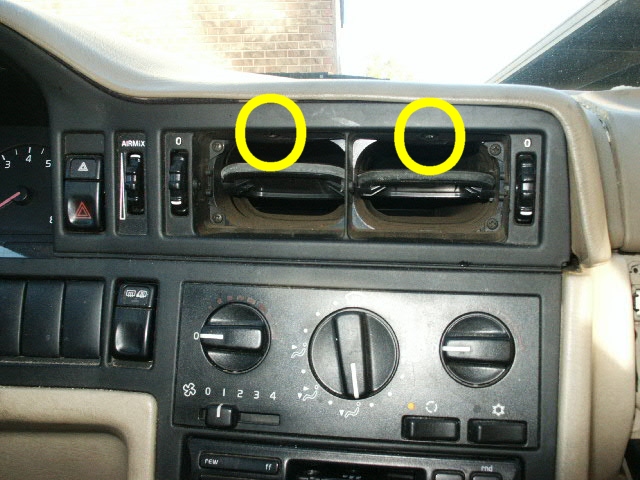
Remove the 2 screws from the top of the center vents.
-
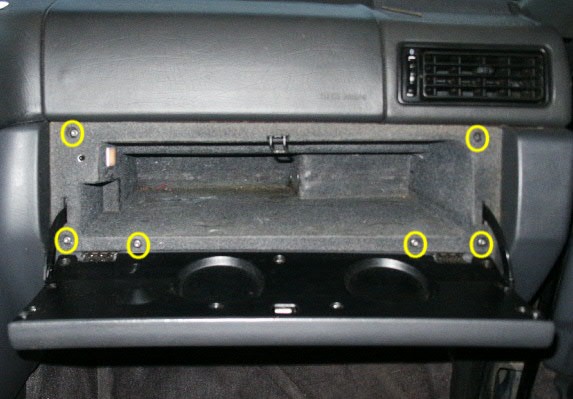
Remove the glove box. Using the very small screw driver or something smaller and narrow, slide it down the small hole where the hinge arm connects to the glove box door and release the tabs that hold the glove box arms to the door, both sides.
-
Remove the screws that hold the glove box in. There are 6 T-25 screws.
-
Remove the glove box. It will just pull out, I usually use both hands. You will have to work the top center of it around the latch.
-
Unplug the air bag connection. It simply pulls down to unplug, orange wire.
-
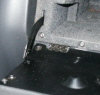
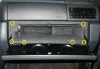
Remove the two screws on the lower edge of the dash pad with the glove box door open. Also remove the 4 bolts that mount the air bag to the dash.
-
Remove the speaker cover on the right side of the dash pad.
-
Remove the speaker on the right side of the dash.
-
Remove the screw from the right side speaker area.
-
Remove the small cover from the far right side air vent.
-
Remove the screw from the right side air went.
-
Remove the right side air vent.
-
Remove the screw from behind the air vent, corner of the dash.
-
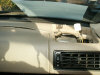
Work the dash pad loose from the dash. It comes out a little easier if you lift it up a little from the drivers side, then work it loose to the passenger side. Lifting up while you pull it towards you (pull towards the back of the car).


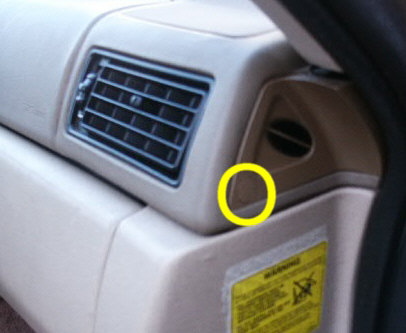
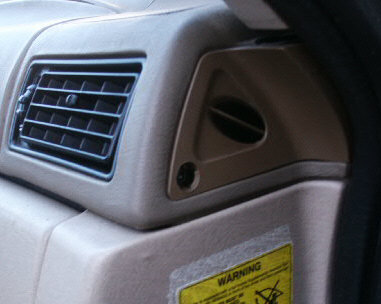


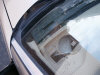
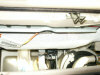
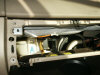
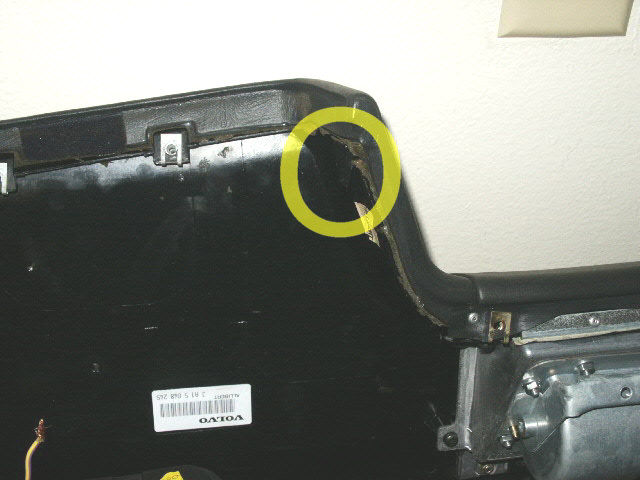
NOTE: When you pull the dash pad off, you will see the forward edge slot that the dash pad fits in when installed.
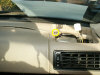
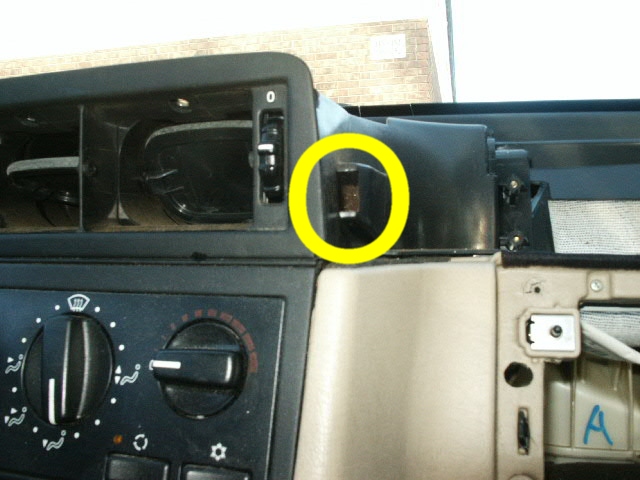
INSTALL NOTE: When you install
the dash pad, there is a slot that the center corner tab fits in so
that it does NOT stick out when the dash pad is installed. Here are
a couple of pictures of what I'm talking about. Make sure you get
that tab in the slot when you get the dash pad in place before you
secure it with screws.

Please leave a tip, see the bottom of this page.
End of instructions.