Repair Instructions For The Toshiba Satellite A215 Laptop Computer
How to replace the internal power receptacle
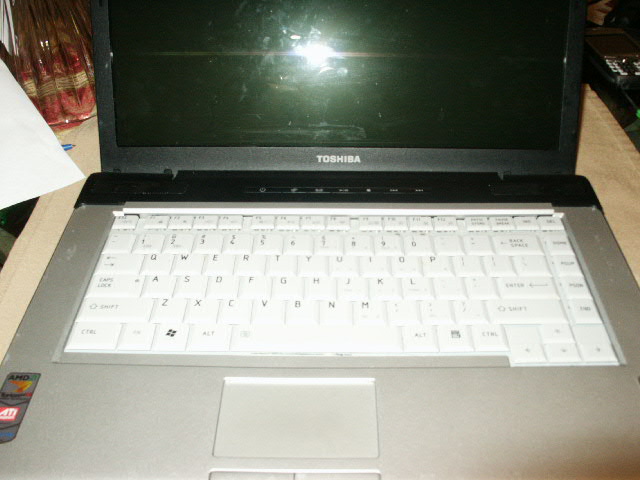
These instructions will guide you through the steps required to replace the ac port on the Toshiba Satellite A215 laptop computer. The computer that I repaired had already had the receptacle replaced or repaired once. I think they just cracked the case and glued it to the base. Now the receptacle was worn out and not making a good connection to the ac adapter. So it had to be totally replaced. I purchased the receptacle from eBay and replaced it in not time. I had to glue the new one in as well so I did need a glue gun. Glad my wife has one. :)
The top silver part has to be removed as well as the monitor. Most of the screws that hold it in place are on the bottom so you have to remove a lot of the bottom screws. The hard drive and ram does NOT have to be removed since the mother board will still be attached to the base when you unplug the receptacle cord.
You will need the following tools:
- DC Jack Power Harness (you can search it on eBay).
- Small standard tip screw driver.
- Small cross tip screw driver.
- Standard paper clip.
- Screw layout sheet.
- Glue gun if the base is damaged where the plug fits through to the receptacle.
- Shut down the computer.
- Flip the computer over so you will be looking at the bottom.
- Remove the battery. Unlock the left latch then release the right
latch and pull the battery out.

- Remove all the B6 screws on the bottom. Set them on the layout sheet.
- Remove the F3 screw in the battery area.
- Remove the F4 screw and pull out the cd drive. If you can't get it out you may need to use the paper clip to eject the drive and pull it out.
- Flip the computer back over.
- Remove the rear panel. Pry it loose from the back edge, near the
hinges, unclips from the edge of the keyboard and pops out.
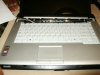
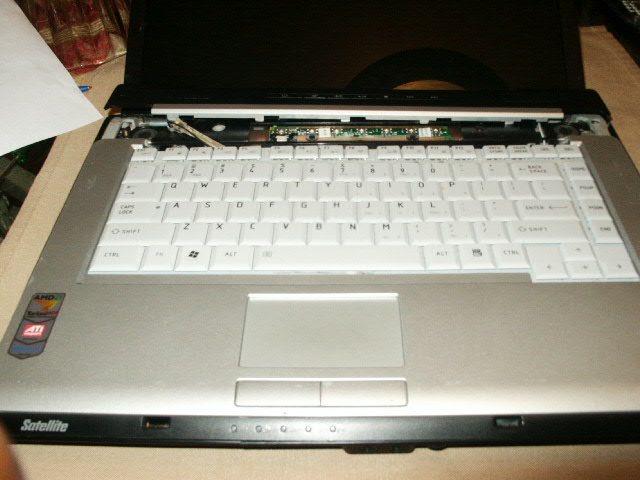
- Remove the keyboard. Remove the 2 screws, lift it up a little
and release the ribbon from the mother board. Set it aside.

- Remove the monitor. Unplug the ribbon, unplug the black and
white antenna wires from the wireless card, remove the 4 hinge
screws, then lift it away from the base.
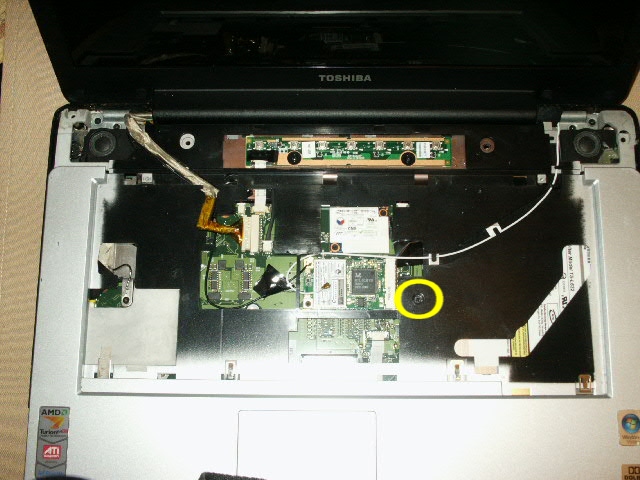
- Remove the screw from the top part of the base, it's near the
wireless card.
- Release the mouse pad cable from the mother board.
- Work the top section of the base off by popping loose the edges
and working your way around.
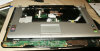
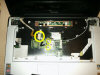
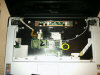
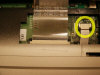
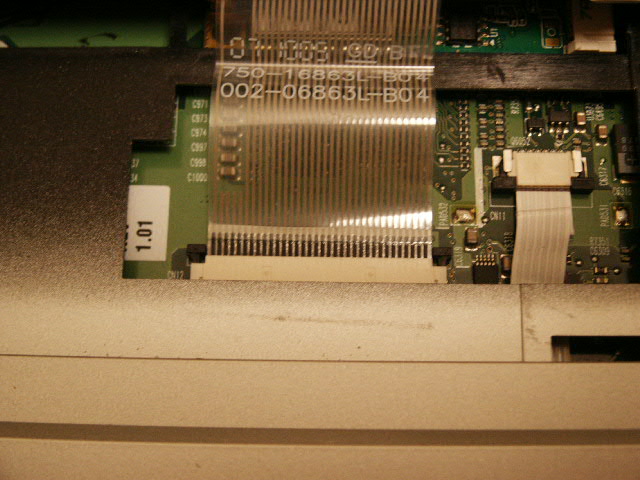
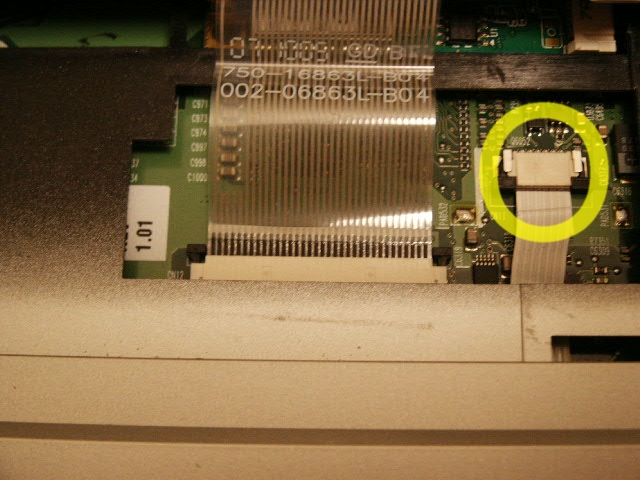
- Once the top surface of the base is separated you can see the ac
receptacle on the edge of the lower part of the base. You will also
see the wire that leads to the connection on the mother board.
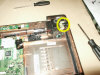
NOTE: I was able to unplug the receptacle from the mother board without totally removing the mother board. I was also able to plug the new one in.
NOTE: If the lower case is broken where the receptacle fits into the base, you will have to secure it with a craft glue gun.


Please leave a tip, see the bottom of this page.
End of instructions.