O2 Sensor on a 1995 Volvo 850 T-5 replacement instructions
If you have owned a car that is more than 10 years old you probably have experienced the CEL (Check Engine Light) that pulled the code that your O2 Sensor has a closed loop or something like that. Bottom line is that you have a bad O2 sensor that needs to be replaced. If you do not replace the sensor the engine computer (ECU) will not get the property temperature readings from it and it will not know how to manage the engine properly. This will likely result in poor gas mileage, engine running rich or lean, etc.. While some just ignore the light, others pull the bulb and keep moving. Just replace it or have someone replace it for you. It took me about 1 hour.
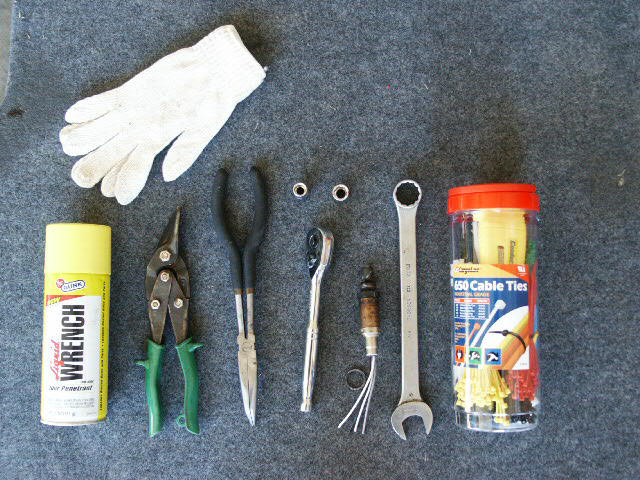
Tools / Equipment Needed:
| O2 Sensor | Needle Nose Pliers |
| Drive Up Ramps or Jack Stands | 10 mm Socket |
| Wire Cutters | 12 mm Socket |
| 7/8' Box End Wrench (may be 21 mm) | 3/8" Socket Wrench |
| 3 Wire Ties | Liquid Wrench |
| Anti-Seize Compound | Torque Wrench |
- Jack up the car and put it on jack stands. I put mine on ramps.
- Turn the car off and remove the key.
- Disconnect the negative battery cable.
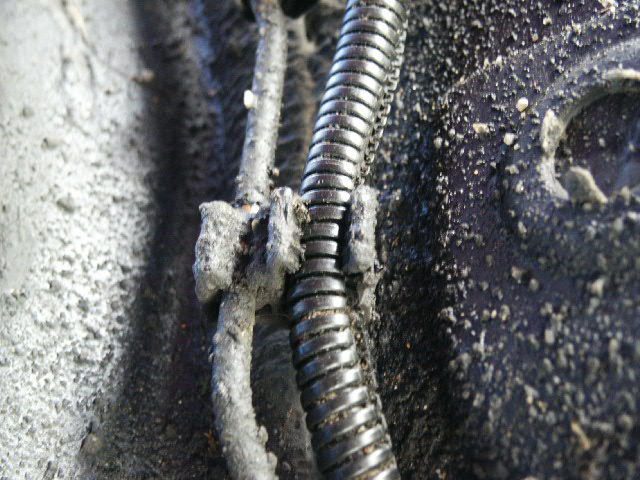
- Unsecure the wire clip on the O2 sensor cable that connects it to the skid plate on the bottom of the car.
- Remove the 4 bolts (12mm) that connect the skid plate and remove
the skid plate.
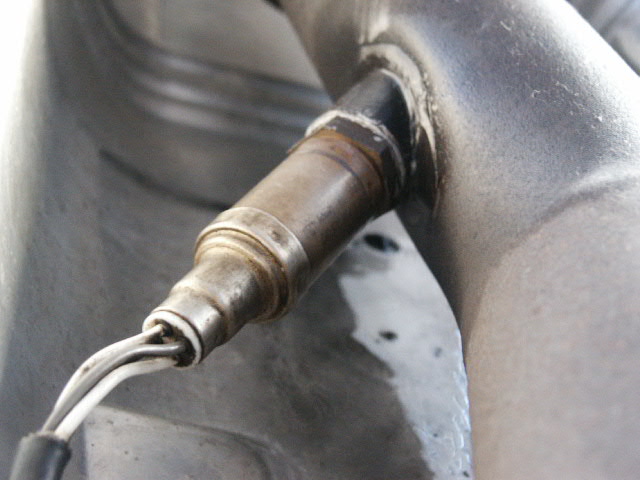
- Remove the O2 sensor from the exhaust. I cut the wires & used
the close end of the wrench.
- Install the new sensor with the anti-seize paste. Torque it to the proper value???
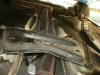
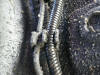
- Take the new sensor and run the wire along the path of the old
sensor. Putting it in the clips along the way.
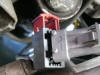
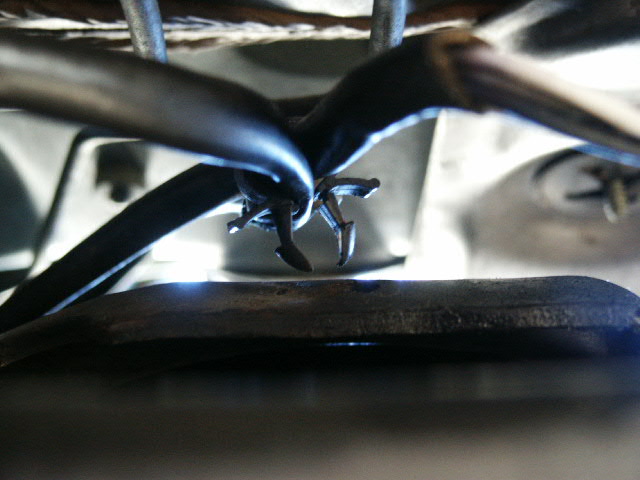
- Un-secure the clip that holds the forward O2 sensor in the wire
clip.

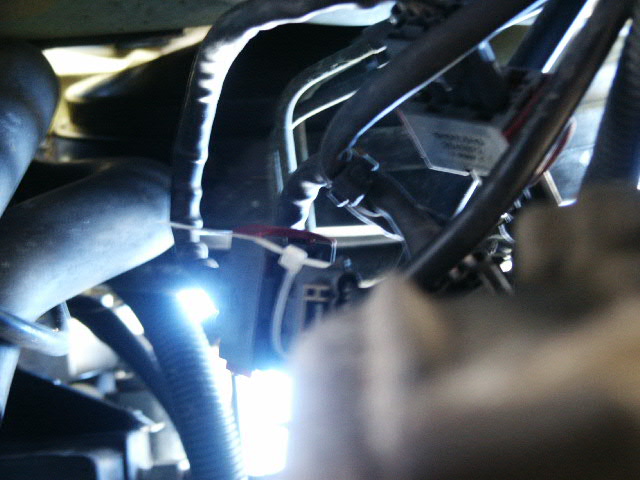
- Un-secure the old sensor from the plug connection bracket. I don't think it will be possible to unplug the clip without removing it from the bracket. Give it a try.
- Once you have the plug removed from the bracket, loosen the plug
securing clip and unplug the old sensor, then connect the new
sensor.
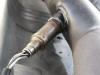
- Use a wire tie to position and secure the sensor plug connection
back to the bracket.
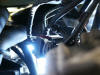
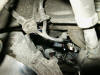
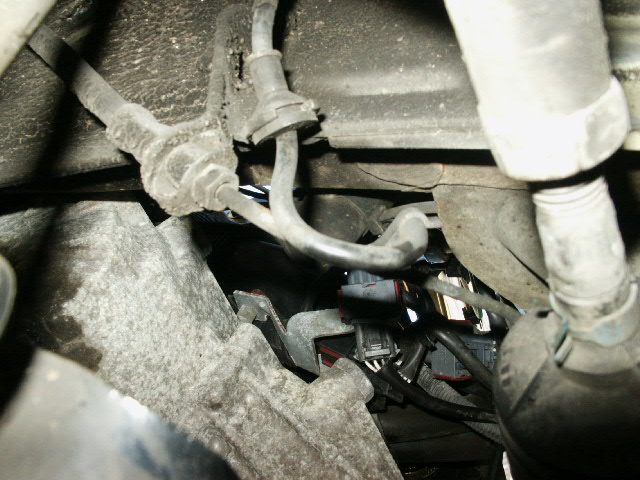
View from under car. View from left front wheel. - Make sure all of the wires are routed properly through the clips.
- Install the sensor skid plate.
- Lower the car from the rams or jack stands.
- Connect the battery.
- Clear the CEL code with a scanner.


Please leave a tip, see the bottom of this page.
End of instructions.