Side Marker Light Installation, Volvo 850
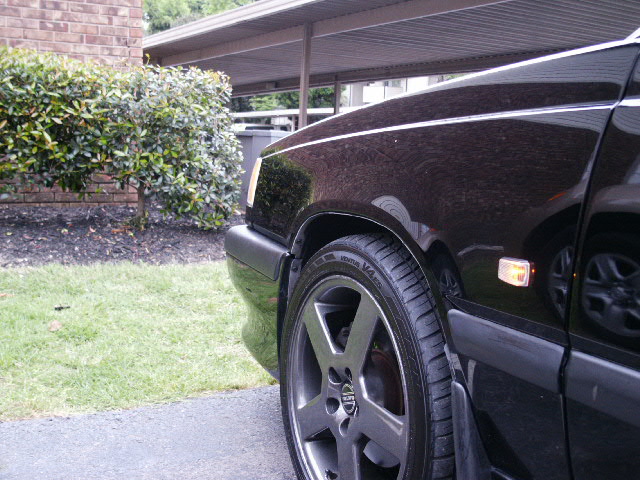
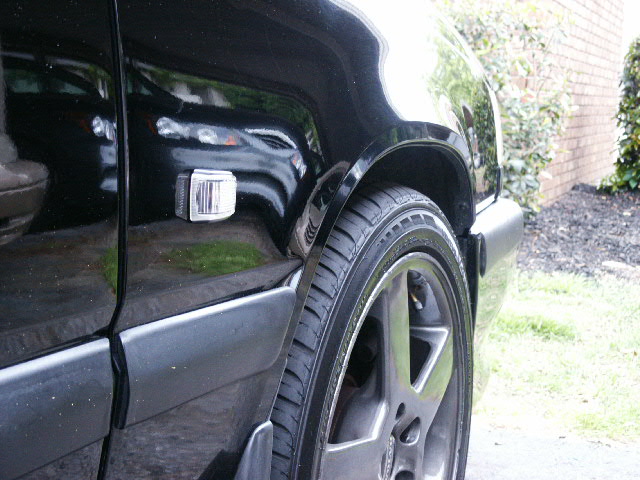
One of the fun upgrades on the 850 is the Euro side marker lights. In Europe, Japan, and other places where bumper to bumper traffic is common, these lights are on almost every car. They really help people next to you know that you need to get over and avoid accidents. I use to live in Japan so they were no big deal to me and I passed up a set of the lights in a junk yard one day and when I checked on the price of them new I went back for them. I installed them over the past week and I'm glad I did. The job took me 3 hours but can be done in 1-1/2 hours. I'm kinda slow when doing stuff like that. My car was NOT pre-wired and some are. Also, I made sure I did a good job cleaning the tape off the body.
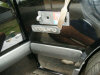
Look in the door jam and see if the car has been pre-wired for the lights. If it has been, your job will be quick and easy. If not, you have a little more work.
I have heard of people installing them to stay on with the parking lights but I hear that can damage the lenses (getting to hot). I installed mine to work with the flashers.
Tools & Equipment Needed (* If the car is not pre-wired):
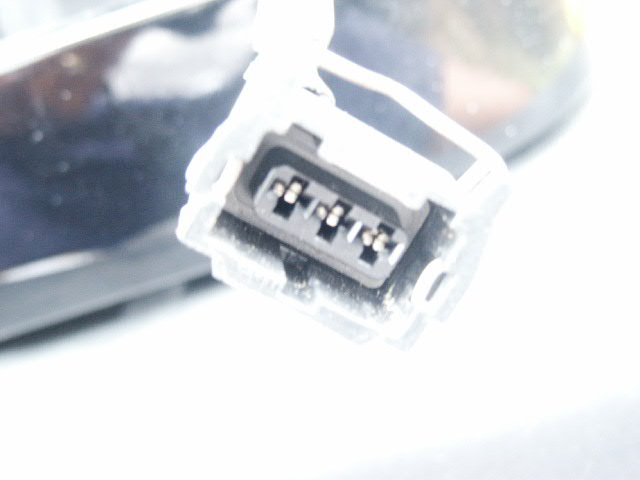
| Two Light Assemblies | Single or Double Strung 18 Gauge Wire * |
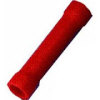
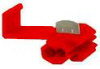
| Flat Tip Screw Driver or Small Chisel | 2 Wire Harness Ends (Plugs for the lights are similar to the following connections: Door jam lights, Coil pack connectors, etc.) * |
| Goop or Kerosene (to strip the molding adhesive/tape) | Wire Strippers * |
| Rag or Cloth | Wire Splicer's * |
| Polish / Wax | Wire Connectors * |
| Ohm Meter * | Standard Wire Hanger * |
| Sealant / Silicone (optional) * |
Instructions:
-
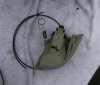
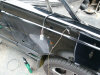
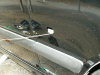
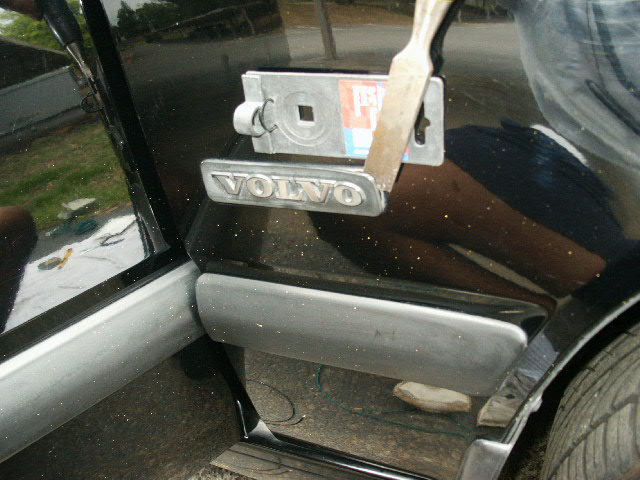
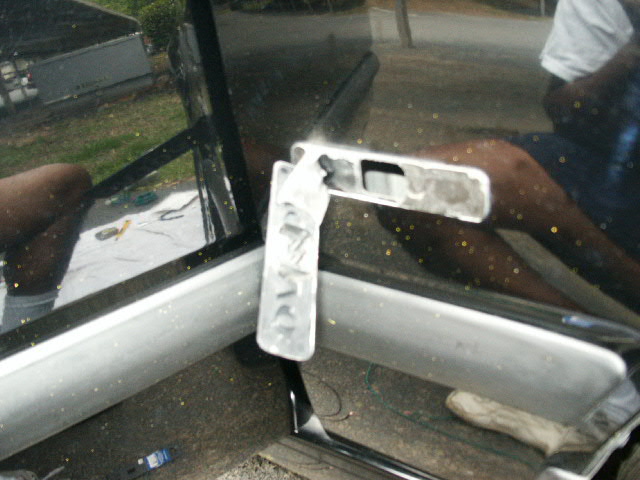
Using the flat tip screw driver, put something against the body to protect it and pry the emblem off the car.
-
Clean off the tape and residue with the cleaner.
-
After you get the tape off it would be a good idea to polish / wax the area to clean it up and make it shine.

-
If the car has been pre-wired, fish the wire to the opening and plug in your light. Job well done. If not, continue to the next step.
-
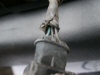
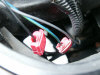
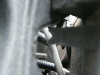
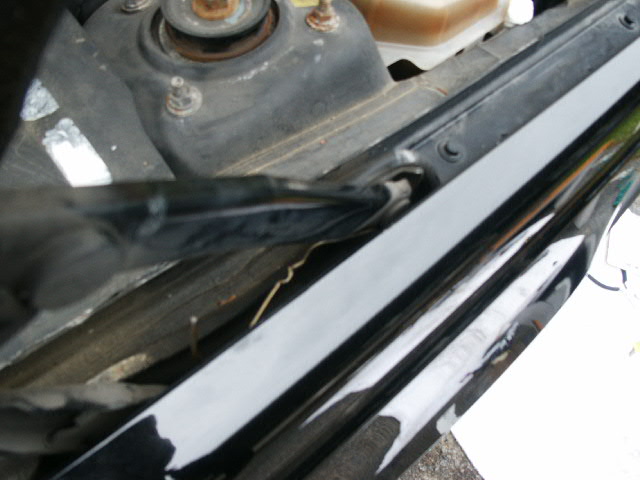
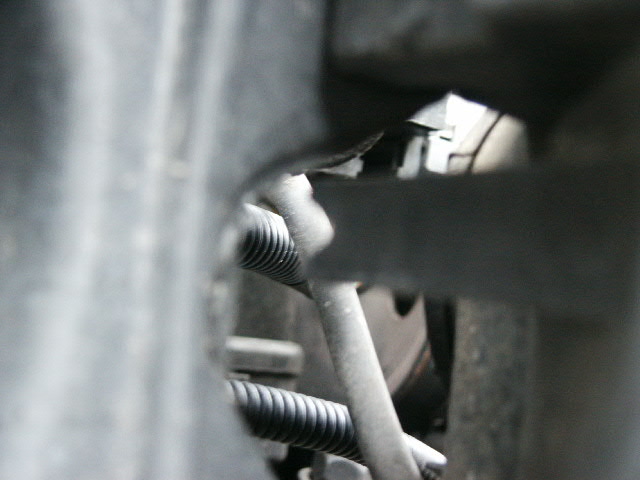
Open the hood and un-secure the corner marker light. They are connected with a hook spring. When you pull the loop a little and unhook the spring from the frame and let the corner light hang out.
-
Unplug the light from the wires.
-
Cut 5' (60 inches) of wire to make the connection. If you pulled the end connector for the light from the door jam light and you have a few inches of that wire left, you can count that extra wire as part of your run.
-
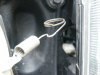
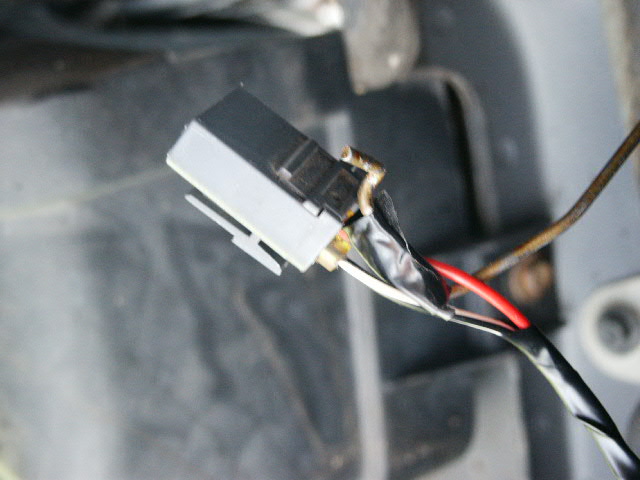
Connect the 2 long wires together if you have separate wire like I did. I had a black and a green wire and used electrical tape to tape them together like a pair.
-
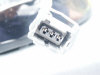
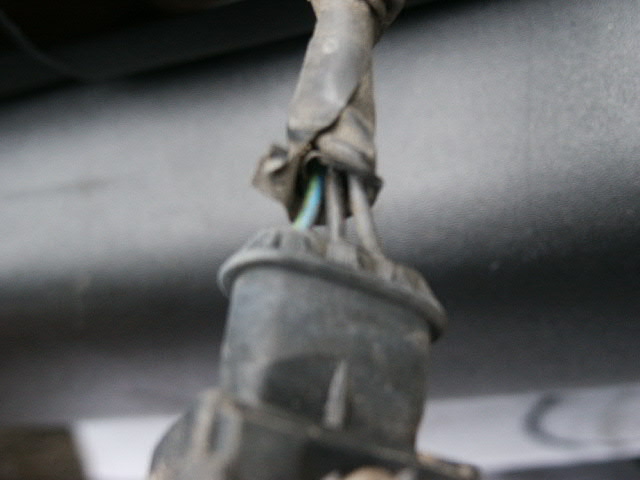
Connect the wires to the plug end that will connect to the light assembly. I used connectors from the door jam lights so the wire colors were red and white/black. I had black and green wire so I used the black wire for the white/black ground and the green with the red (not sure if that was proper, didn't test the light wire harness while connected to the door but it worked).
NOTE: When making your splice connections, it would be a good idea to tug on the connections to make sure they are good and secure and wont pull loose. -
If you want you can test the wires that connect the corner marker light. I used the ohm meter to check to see which wires were for flashing. Volvo usually uses the black for ground and the other wires for power control. I ended up using the black and green/gray on the passenger side. I think it was the same on the drivers side. The ground is in the middle (black). The blue/green wire powered the flasher and the gray wire powered the steady parking light.
-
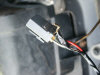
Pull some of the wire loose from the wire protection sleeve, then splice the new wire into the existing corner light wire harness.
-
Plug the light assembly in and turn on the flashers to make sure they work before you run the wires through the finders.
-
Using the sealant, do your best to seal the wires where they go into the connectors. This may help these splices to last longer, keeping the weather out of them.
-
Work as much of the wires back into the wire protection plastic.
-
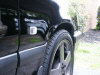
If the lights work, un-wind the metal hanger and route it through the finder where the hinge goes through it. I used the hanger to fish the wire from the front of the car to the hinge opening, then from there to the hole in the finder where the light will mount.

-
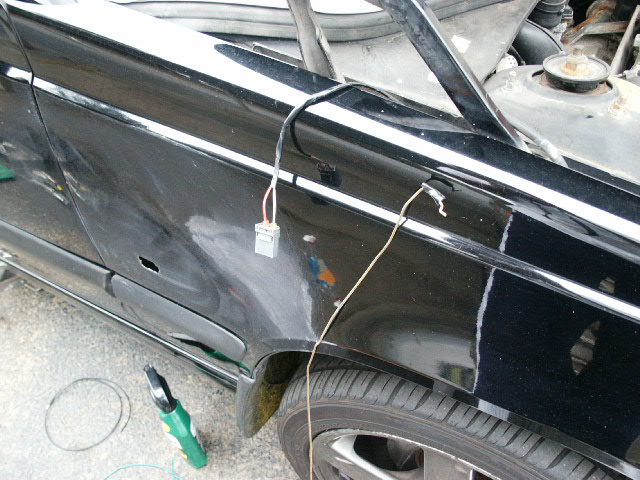
Fish the wire harness through the hole where the corner marker light attaches and let the wires hang under the car.
-
Go under the car and find the hanger. Tape the wire connector to the hanger that you fished through the finder.
-
Pull the wire up to the hood hinge.
-
Take the wire loose from the hanger.
-
Fish the hanger into the finder hole and up to the hood hinge. Be careful not to get the wires tangled in the hood spring.
-
Pull the wires down to the finder hold and connect it to the light assembly.
-
Plug the light assembly into the finder. The then edge goes forward.
-
Re-connect the corner marker light to the wire connector.
-
Re-install the corner maker light into the front of the car.


Please leave a tip, see the bottom of this page.
End of instructions.