Door Panel Removal Instructions for Volvo 960
These instructions will guide you through the process to removing a front door panel on a 1997 Volvo 960. It will likely be the same for all the door panels, including the ones for the S90 and 940 models. My goal in providing you these instructions is to help you get the panel off to replace door switches, check window function, etc., without damaging the door panel and clips that hold the panel on the door. The panel comes off pretty easy in about 5 minutes.
Tools needed:
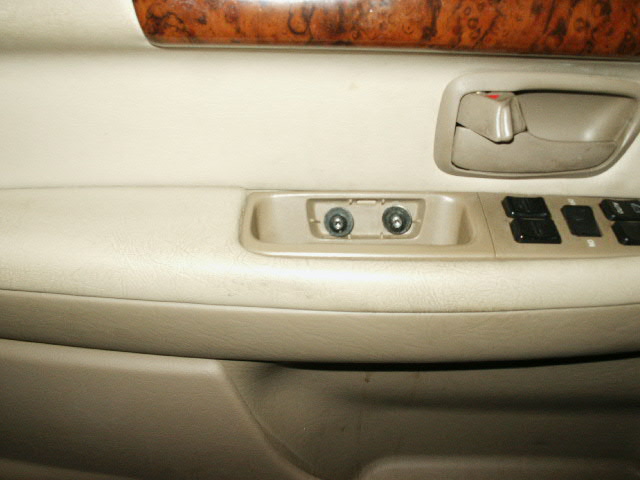
| Small flat tip screw driver | Screw driver with the #25 torque bit |
| Some sort of tool you can reach in and remove a
clip. Something with a hook tip. |
Pliers - To remove broken clips that may be stuck in the door. |
| Super Glue | Tack Glue (like tar strip) |
| It may not be a bad idea to get 2 door clips from the dealer, you will likely break on or two. There are 2 types holding the panel, I'd get 1 of each. | Grease, if you are going to lubricate the window tracks. |

Instructions:
- Open the door and remove the stuff you have stashed in the pocket.
- Remove the screw cover in the hand pull slot.
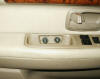
- Remove the 2 screws in the hand pull slot.
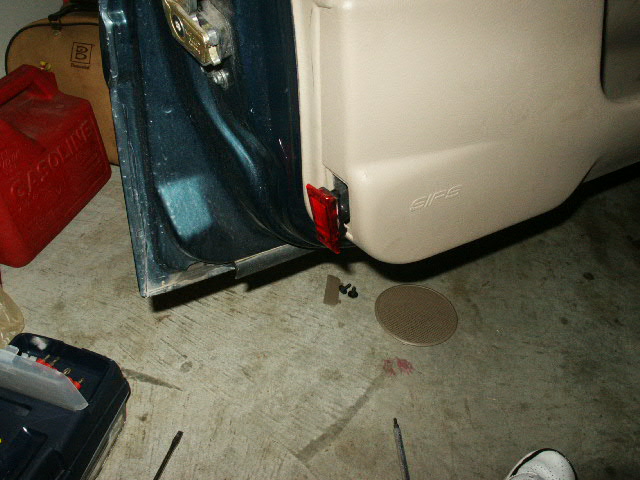
- Remove the red light at the edge of the door panel. You need to
push down on it then pull it out. Once it is hanging out, un-plug it
from the wires.
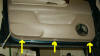
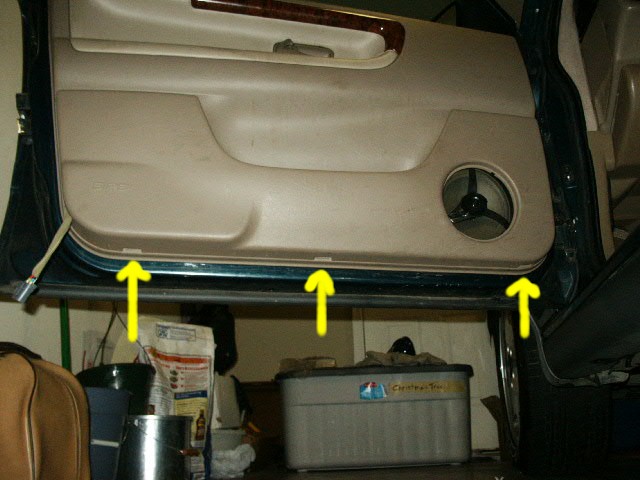
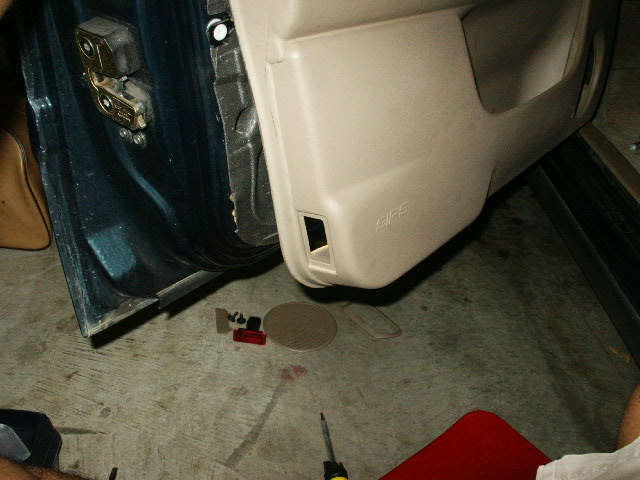
- Remove the 3 white clips from the bottom edge of the door panel.
You can use a flat tip screw driver to pull them down. The one on
the forward edge is the one you may need something with a hook on
the tip to get out.

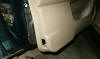
- Pull the door panel loose from the bottom and work your way up
both edges (forward and rear). Once you have all the clips pulled
out, you need to lift the door panel up to get the top of it to
clear the door frame where the window goes up / down.
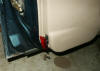
- Once you have the panel loose, you can un-plug the wires to remove it totally away from the door if necessary. (I just let it hang there while I pulled the insulation away and lubed the rear window track).
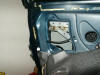
- While the door panel is off, check for broken clips. When I pulled the panel loose, I broke a clip retainer. The one closet to the door latch assembly. I glued it back together with super glue.
- If you need to go inside the door itself to lubricate the window
tracks, remove internal door parts, etc., you will need to pull the
insulation away from the door. It can be tacked back in place with
some liquid nail, tar in a tube or some other kind of tack glue.
- Install the panel in reverse order. Be careful not to get wires in the way of putting the panel back on.

End of instructions.