Timing belt replacement instructions on a 1997 Volvo 960
These instructions will show you how to replace the timing belt, tensioner, idler, and the tensioner dampener on a 1997 Volvo 960. It should be the same on the S90's and a few other 960 model years (likely 1995 and 1996). The task can be completed in less than 3 hours depending on how prepared you are and how fast you work. I'm a real slow worker so it took me longer. I also replaced a leaking water pump and removed the radiator fan.
I had my timing belt replaced 23 months ago (about 27,000 miles). The reason I decided to do it again is that my idler was squealing. A couple of months ago it was only squealing when I started the car, lately it has been making noise even after the car was warm. I found out that the tensioner or idler can break or come apart, causing the same damage as if the belt breaks. I guess the mechanic I paid to do the belt last time did not replace the tensioner or idler. Not sure if I asked them not to or if they took it upon themselves not to. The tensioner spun very freely and felt like it had no grease in it. The idler was just about frozen, it was very hard for me to turn it with one hand. Both of these rollers should turn very smoothly and not spin by hand. I believe these bad rollers caused my water pump to leak.
It was a lot easier than I thought it would be. If you are able to replace plumbing faucets on a sink, you should be able to do this with ease. I found the instructions below on-line and it made the job easy. I took them, edited them and added photos.
Tools / Equipment / Parts Needed (The picture shows more tools, etc., because I replaced the water pump and the radiator):
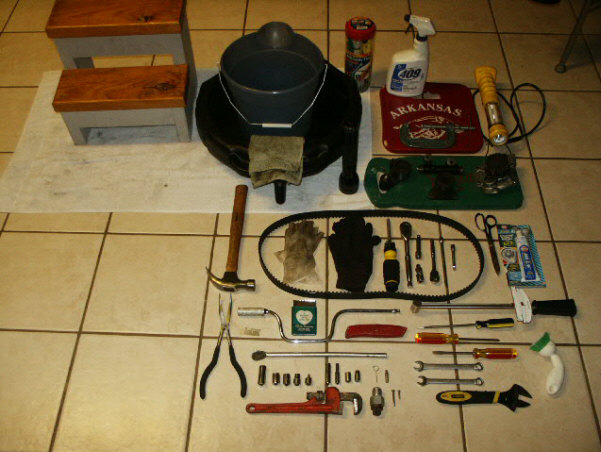
| Timing Belt | Foot Stool |
| Tensioner Roller | Shop Light |
| Idler Roller | Latex Gloves |
| Tensioner Dampener | Cloth Gloves |
| Pipe Wrench | Adapter for the Serpentine Belt Pulley * |
| 3/8" Ratchet Wrench | 1/4" Ratchet Wrench |
| 3/8" Sockets (10mm, 12mm) | 1/4" Sockets |
| Tensioner Dampener Pin (Wood panel nail works) | Serpentine Belt Pulley Keeper (16 Penney Nail, 1-1/2") * |
| 6" C-Clamp (or vise) | Mirror |
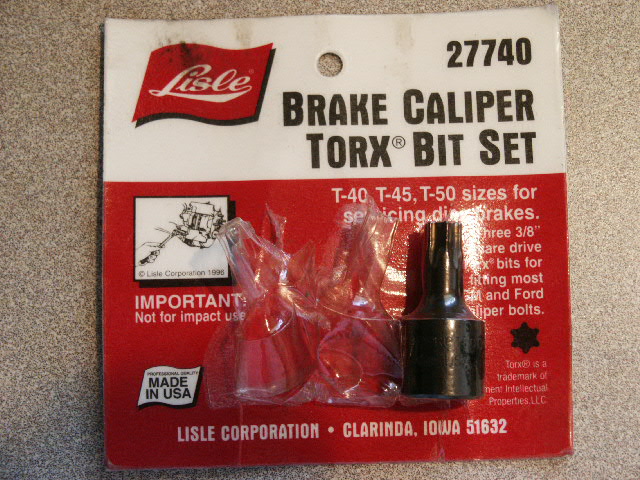
| 12 mm Box End Wrench | Good Quality Torque Bit, T-45 ** |
* Serpentine Belt Took Kit Click here for purchase information. |
** Good T45 Bits
that I use.
 |
NOTE: Some people take this opportunity to replace the Serpentine Belt. I did not, mine was in good condition.
NOTE: Some people take this opportunity to replace the water pump. I would not do this unless the car had more than 200,000 miles on it or if it was leaking, like mine.
Instructions:
- Jack up the front end of the car and suspend it on jack stands, I used ramps.
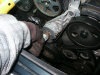
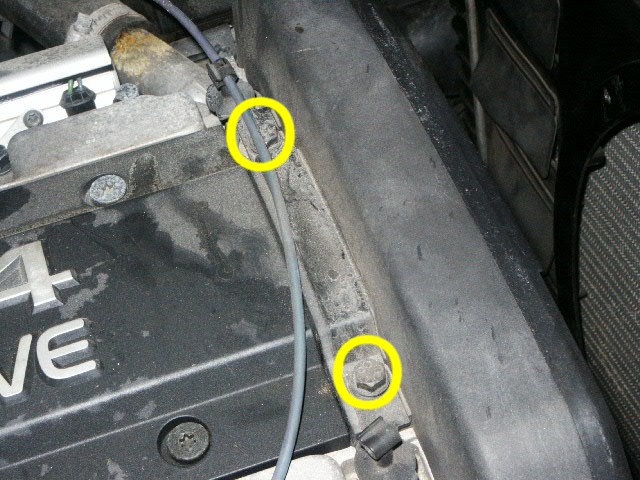
- Open the hood and remove the bolt
that holds the timing belt cover on (12mm Bolt). After you remove
the bolt, work the cover off by pulling it forward and lifting it
out.
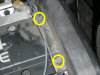
- Remove the fan. Some people skip
this step but it sure makes it easier to get at the items in the
timing belt area. Find the wire harness in front of the battery and
unplug the fan wires.

- Remove the ground wire for the fan (10mm Deep socket).
- Remove the 2 screws on top of the
fan (T-25). Then lift the fan from the plastic scrod that holds it
in place. There are no screws on the bottom side, the fan sits in
guides.
NOTE: You may also remove the plastic scrod. It is held in place by 2 screws at the top. - Remove the serpentine belt.
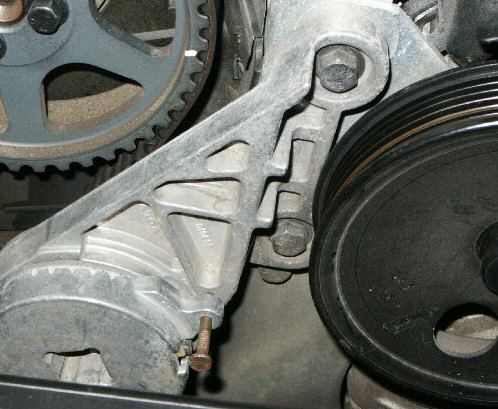
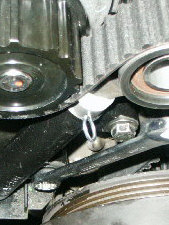
NOTE: Before you remove it, you will need the 16 penny nail (1-1/2" long, you may have to cut one of find a bolt that will work). You will also need something to put in the pulley to remove the tension from it.
NOTE: You should draw a picture of how it is routed so you can get it back on. Some people spend hours trying to figure out how it goes back on.
Put something in the pulley hole and use the pipe wrench to take the tension off of the belt. Twist the pulley and stick the nail in the hole to keep it in place, with no tension on the belt.
- Remove the belt and place it where it wont get damaged.
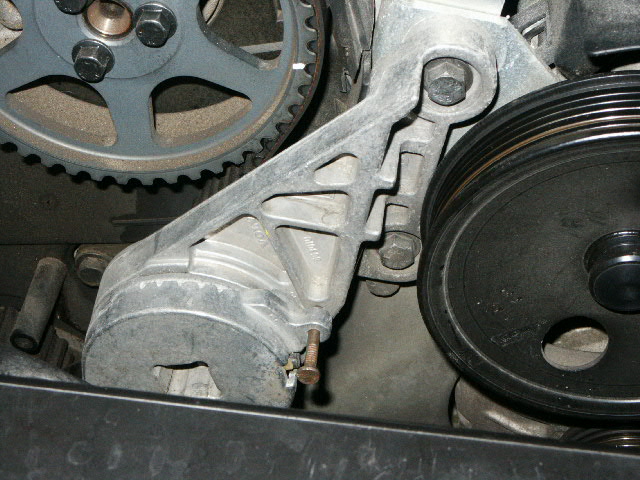
- Remove the serpentine belt tensioner (2 bolts, 12mm I think).
- Get under the car and remove the splash pan that covers the oil filter (10mm bolts, should have 6).
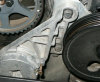
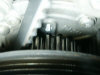
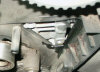
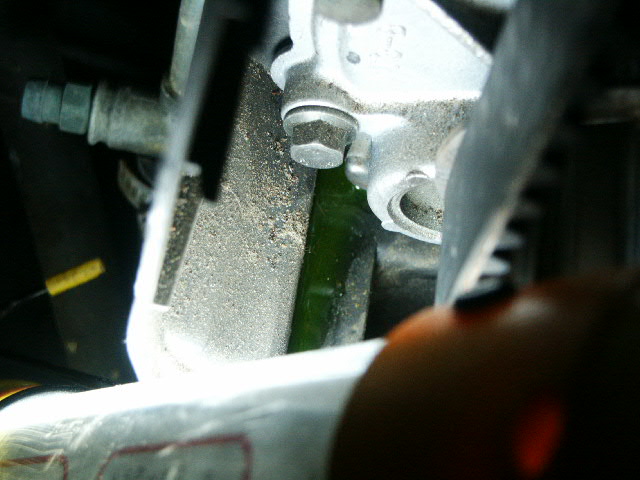
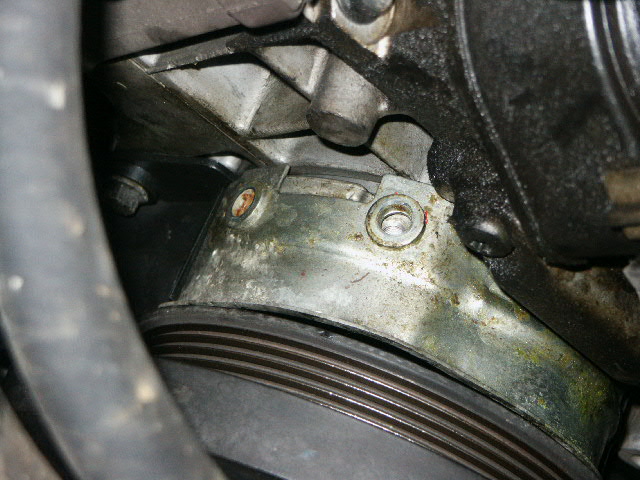
- Crawl under the car and locate the
shiny metal 'vibration damper guard'. It's held on my two 10
mm bolts. Unscrew those bolt and remove the shiny cover to
expose the crankshaft gear and the lower end of the timing belt.


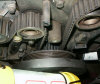
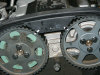
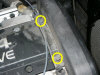
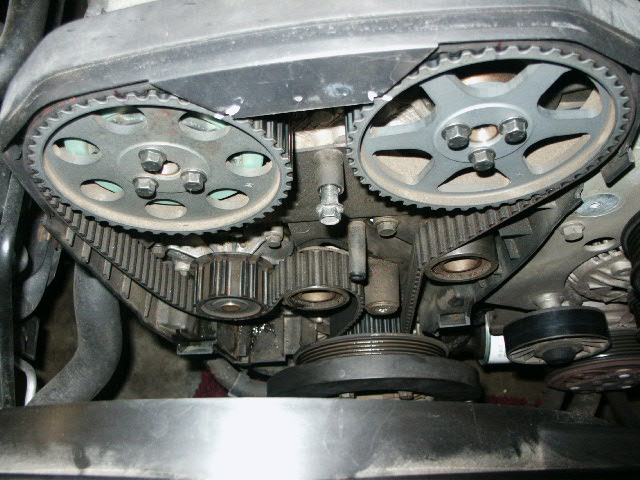
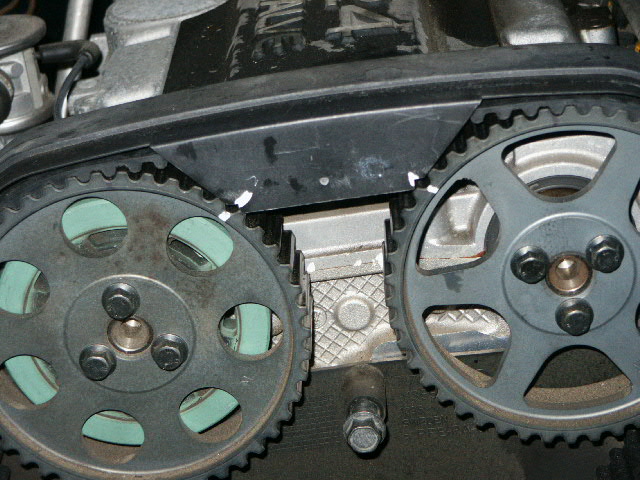
NOTE: There is no need to remove the vibration damper. - Align the timing marks on the top
cams. I turned the large bottom crank wheel by hand from the top of
the engine (I stood on the stool to get more leverage, it's hard but
it will turn. Another option is to turn it slowly using the small
bolts). Turn it clockwise while looking at the front of the engine.
The cam timing marks are obvious. The crank timing mark is not
obvious. They are probably already marked, if not, use some light
color nail polish, white out paint, etc., to mark them clearly. Also
mark the crank's relationship to the block and the timing marks on
the two cams. I also marked the existing timing belt so that if
worst came to worst I could count the cogs between the various
timing marks.
- Loosen the top of the timing belt cover by removing the 2 bolts
on the top of the motor (10mm socket).
No need to actually remove this top shroud.
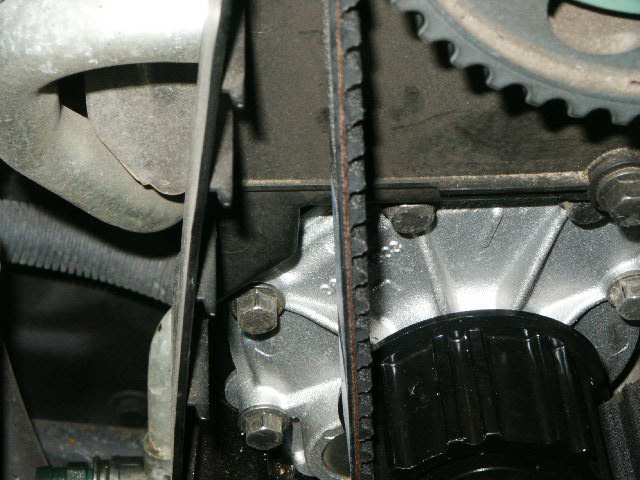
- Tensioner efficiency: Before you take off
the tensioner and the timing belt, take a moment to notice the tension on the
belt between the exhaust cam and the water pump. It seems to move about 1/4
inch with about 10 lbs lateral pressure. This is purely a guess based on what I
thought it felt like.

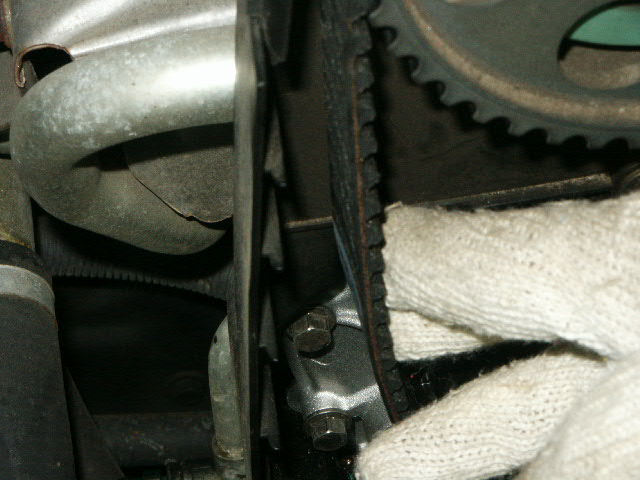
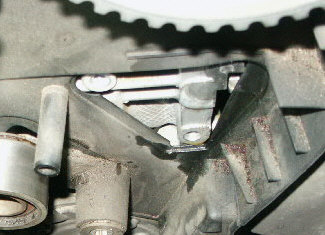
- Remove the tensioner dampener by a) slacking the two
12 mm bolts, b) removing the upper bolt, c) rotating the tensioner dampener clockwise a
little, d) removing the bottom bolt and lifting out the tensioner dampener. Box
end wrench.
- Remove the timing belt, lift up on
the top shroud and working the belt off the cams. Then get under the
car and very carefully work the belt off the crankshaft gear.
Remember how you got it off because it's like a Chinese puzzle to
get the new belt back on. You may want to take a photo or draw a
picture.

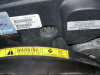
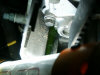
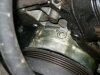
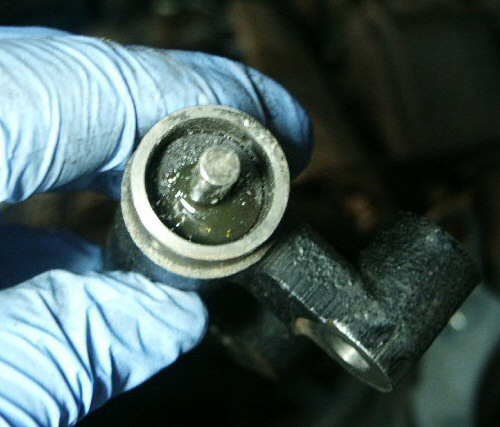
- Inspect the tensioner dampener assembly. It is an hydraulic affair and it should not be leaking oil. If it is leaking
you need to replace it. If the tensioner dampener fails, the belt will jump cogs and the
motor will be destroyed. Mine was leaking so I had to replace it.

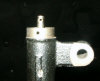
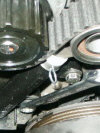
The dampener keeps tension on the timing belt so it stays tight and in place for 70,000 miles. - Using the C-Clamp, compress the
plunger back into the tensioner dampener. First remove the white nylon positioning ring. Line up the three
little holes so you can place the keeper through them to allow you to reinstall
the tensioner dampener. A vice would work well to compress the tensioner. My vice was
not large enough so I used a 6 inch C clamp. Compress the plunger a quarter
turn at a time allowing it to 'rest' between twists. When the plunger is all
the way flush with the housing push a 3 penny common nail into the hole with the
head of the nail facing out so you can pull the nail out when the tensioner
dampener has
been reinstalled. Place the nylon guide back on the tensioner dampener. (a new one
probably came with the new timing belt).
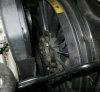
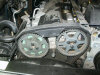
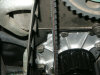
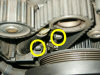
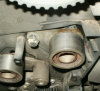
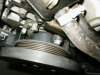
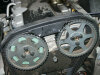
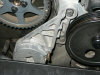
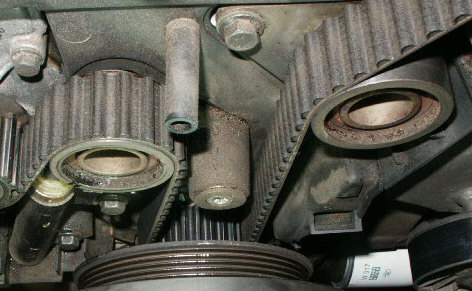
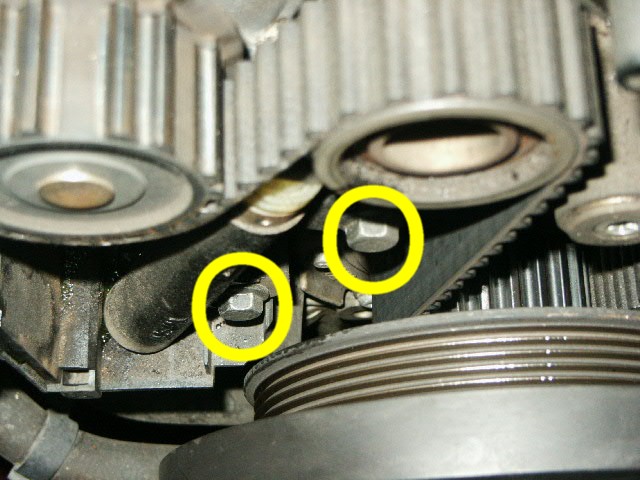
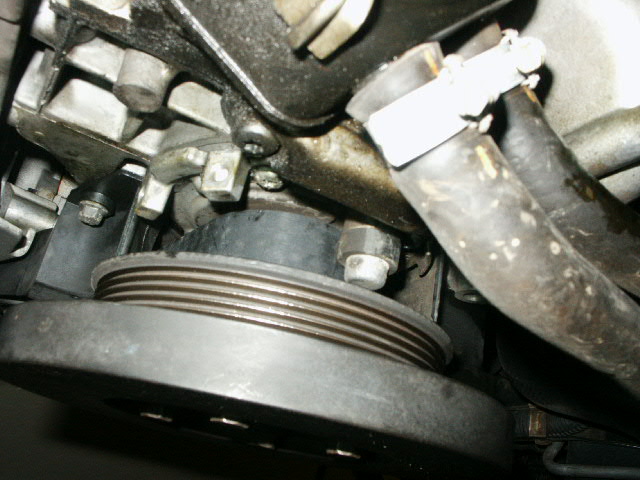
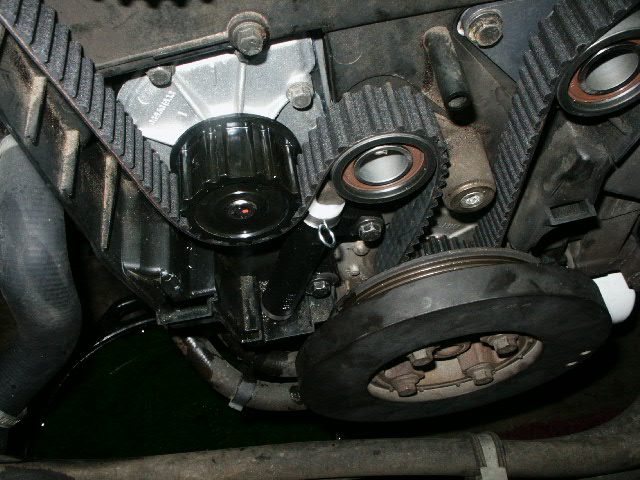
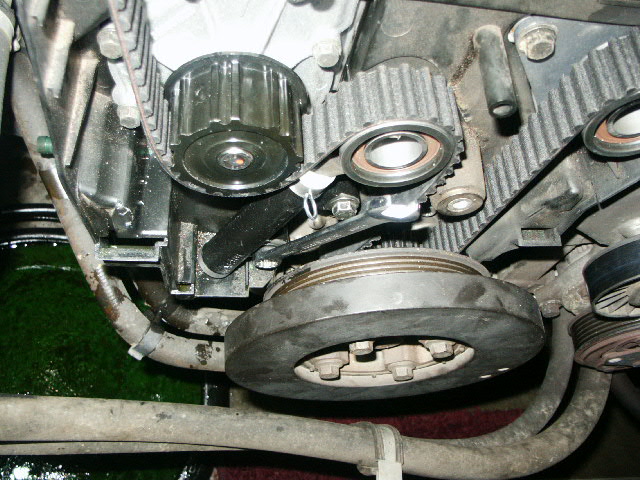
- Inspect the tensioner roller and
idler for smooth operation. They should turn by hand but not spin
freely. They have grease in them so if you can hear them turn/spin,
the grease is gone and they will not last much longer. Both of the
ones in the photo below are bad.

- Replace the idler. Remove the two
bolts that hold it in place and install the new one. I think they
are 12mm and should be torqued to 30 ft. lbs.
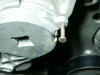
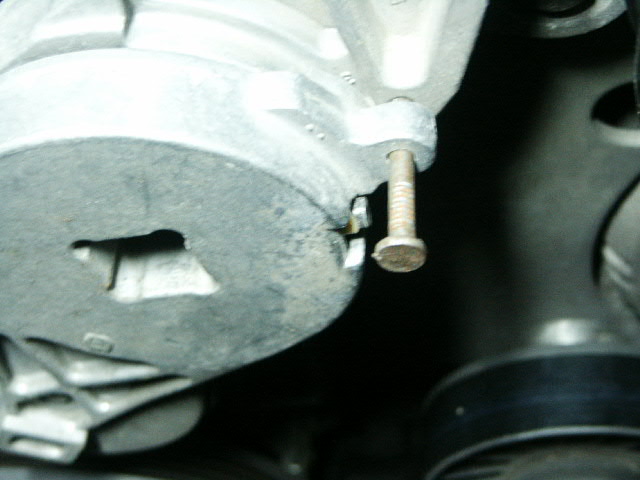
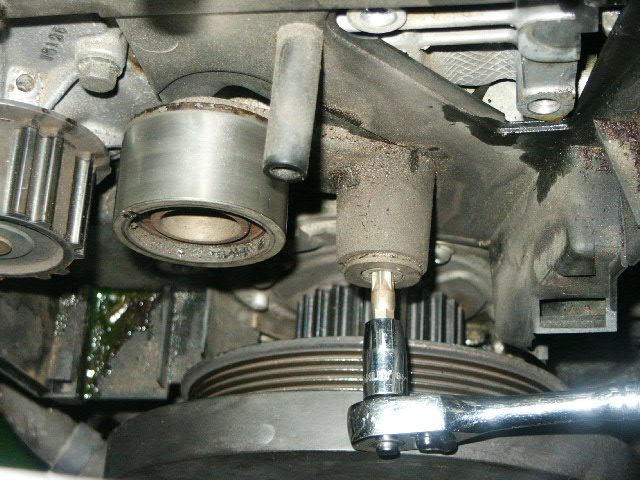
- Replace the tensioner. It has a T-45 bolt
that is very hard to get out. Do not strip it
like I did. Only use a good T-45 bit.

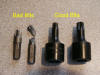

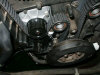
WARNING: The tensioner bolt strips easy. Do not try to remove this bolt with a cheep bit. If you strip it you will have a real problem. This is were extra room for leverage comes in handy by having the fan removed. - Inspect the water pump for leaks.
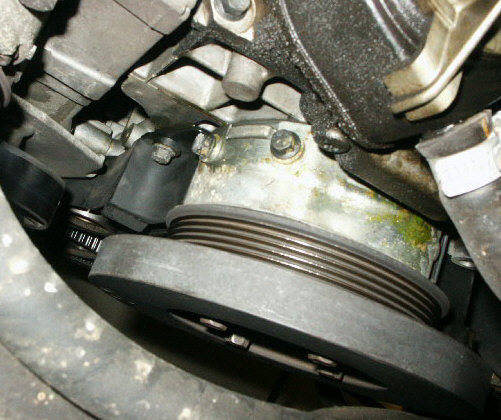
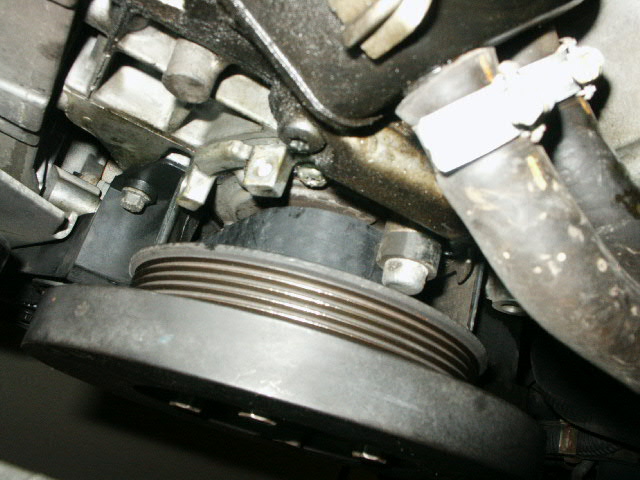
This is the time to change the water pump if it isn't in good shape,
i.e. leaking.
NOTE: If you need to replace the water pump, now is the time. - Install the tensioner dampener. Do not tighten it. Some people install it later.
- Install the new belt. I found it
was easiest to snake the belt down to the crankshaft gear before
trying to place it on any of the other gears or idlers. Crawl under
the car with a good light to work the belt on to the crankshaft gear
without crimping it in any way. Once it's on the crankshaft gear
(from bottom), then put it on the idler, then intake cam and remove
all the slack between crank and intake cam gear. Then do exhaust cam
and then water pump and finally the tensioner roller where the tensioner
dampener goes. You want all the slack at
the tensioner dampener.
NOTE: Do not try to avoid going under the car to get the belt on the crank. It will not work, it will likely get caught on something under there and not route properly. Go under the car!
- If you have not done so already, install the tensioner dampener. Tougher than it first looks. Locate the top bolt first and get it started. Then do the bottom one. Make sure the tensioner dampener seats itself flush on the front on the engine and torque it down. Volvo says 18 ft pounds (25 Nm). I couldn't get a torque wrench in there. Regardless, that's not a lot of torque.
- Critical
point: Carefully inspect all your timing marks. Is there
slack anywhere except around the tensioner dampener? Is the belt
fully seated on each gear? If everything is OK, take some pliers and pull out
the 3 penny nail that has been holding in the plunger on the tensioner dampener. It
comes out fairly easy. The tensioner dampener will ease itself back into position and
will take up all the slack on the tensioner side of the engine. Inspect by
feeling the tension between the exhaust cam and the water pump. Does it feel
about as it did before you took the belt off. Are the timing marks still where
they are supposed to be?

- Crawl underneath to make sure the
belt is seated on the crankshaft gear. If it is in place, reinstall
the vibration damper guard.
- Reinstall the two 10 mm bolts that
hold the top of the cam belt shroud on the top of the engine.
- Volvo recommends you make the crank turn two complete revolutions to make sure all the timing marks are still in place. That's more difficult than it sounds but I was able to do it, VERY IMPORTANT.
- Install the Serpentine/Accessories
belt pulley. It should still have the nail in it.
- Install/snake the belt around the accessories and pulley. Be very careful to be sure the serpentine belt teeth is seated in the middle of all the pulleys on its route. When you are sure it is correctly positioned relieve the pressure off the pulley/tensioner, just a little and remove the cut off 16 penny nail that you installed at the beginning of this operation, allowing the tensioner to slowly take up all the slack in the belt.
- Carefully inspect the engine bay
for tools and stuff.
NOTE: The splash guard and the timing belt cover is are still off. - After you have removed all tools, and turned the crank by hand 2 complete turns, start the car and let it run for about 5 minutes. You can take it for a spin if you'd like.
- Check under the car for leaks, etc.
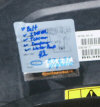
- Once you are done with your test
drive, clean a spot on the timing belt cover for your new sticker. I
marked my sticker with all the parts I replaced.
- Install the timing belt cover.
- Install the splash guard under the car.


Voila! You have successfully changed the timing belt and the serpentine belt.
Parts: Timing belt is Volvo part 271876. Serpentine belt is Volvo part 9146106.
End of instructions.