Oil Cooler Line replacement instructions on a 1998 Volvo S70 GLT
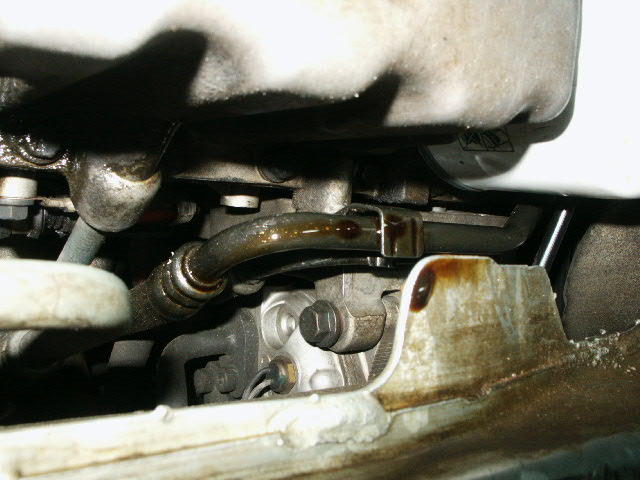
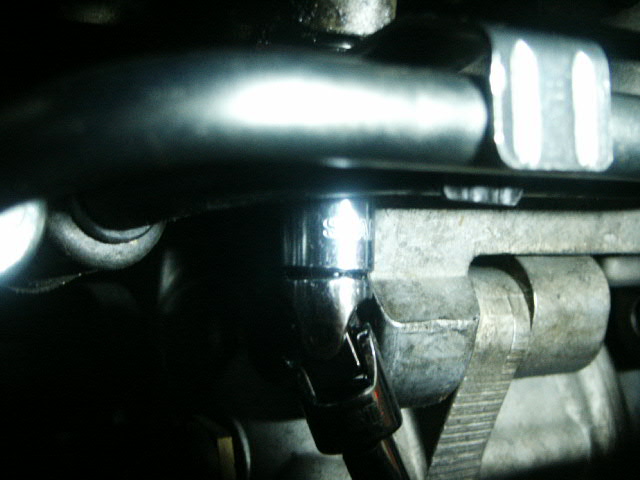
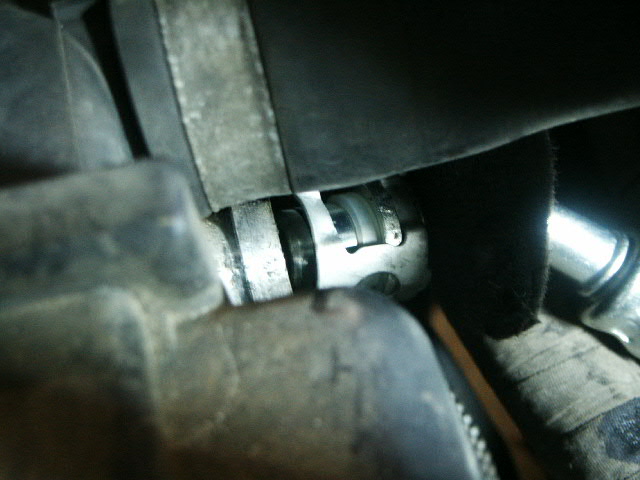
If you notice an oil leak under your Volvo S70 GLT, and the leak is near the front passenger tire, you likely have a Oil Cooler Oil Line leak. It is common for these lines to leak where the flexible hose part of the line joins the metal tubing. Mine was leaking at a rate of about 1 drop every 10 seconds (with the car running). I noticed the oil under the car when I went to change the oil but you may also see it in your driveway, garage, etc. If you have the air deflector scoop installed, it may be hard to tell where it is coming from, but if you see oil under the car near the right front tire it is likely the oil cooler line. The oil lines have metal ends and there is a rubber hose in the middle that reaches from the bottom of the car (near the alternator) to the top of the engine where it goes into the radiator (or oil cooler). With the air scoop off, my leak looked like photo below and it took me about 2 hours to replace the line. I takes small hands and patience.
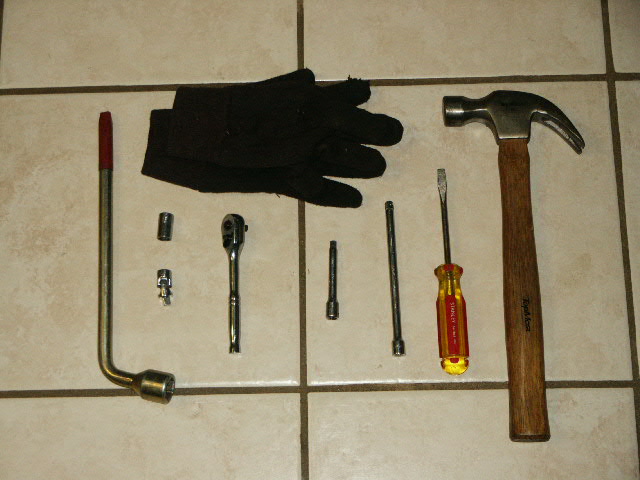
Tools / Equipment Needed:
| Oil Line (Volvo part #: 3528207, $151 at my dealer) | Oil Drip Pan |
| Drive Up Ramps or Jack Stands | 10 mm Socket, 1/4" |
| Gloves | Small Socket Extension, 1/4" |
| Flat Tip Screwdriver | Long Socket Extension, 1/4" |
| Lug Nut Bar | Socket Wrench, 14" |
| Rags | Socket Swivel, 1/4" |
| Hammer | Shop Light |
| Tools To Remove Air Scoop | 1/2 Quart Of Oil |
| A Wire Tie |

- Jack up the car and put it on jack stands. I put mine on ramps.
- Turn the car off and remove the key.
- Remove the air scoop from the bottom of the car.
- Put the oil drain pan under the car near the passenger side front tire.
- From the bottom of the car, remove the bolt that holds the oil
line bracket from under the alternator, just below where the hose
joins the tubing. Be sure to put on gloves because the initial break
loose is a knuckle banger. 10 mm Socket, long extension & swivel.

- Remove the bolt (10 mm) that connects the lower end of the tube
bracket. I was able to reach it from the bottom of the car, using
the swivel & both extensions. (Some have said that they would try to
access it from behind the tire and wheel well skirt. I just did not
want to remove all that stuff just to have the same amount of
access.)

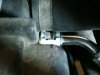
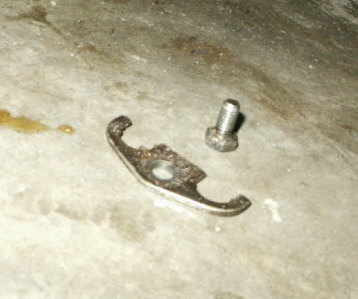
NOTE: When I removed my bracket it was bent a little. So I used the hammer to straighten it out. - Pull the tube loose from whatever it connects to. Some oil will drain out into the pan.
- Go to the top of the car and remove the clip that holds the top
of the oil line to the radiator / oil cooler. Mine had a wire tie on
the clip. Once I removed the wire tie I simply bent the clip open
with the screw driver and pulled it off.
- Go back under the car and remove the line.
- From the bottom of the car, route the new line from the bottom to the top.
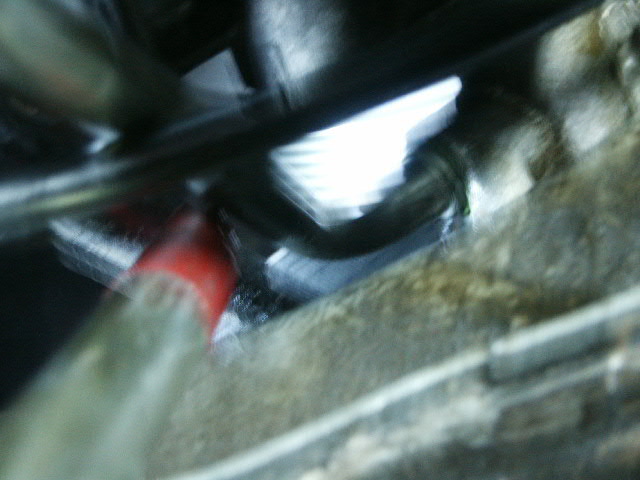
- Remove the cap from the bottom of the line and align it to go into the hole the old one came out of. Before you press it into the hole, make sure the lower bracket is under the other bracket from the other line that runs parallel.
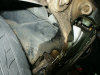
- It is kinda hard to get the end of the tubing in the hole. I had
to use the lug nut bar as a lever to apply pressure to the tubing
while I wiggled the line to make it go into the hole. (Sorry about
the poor picture).

- Go to the top of the motor to make sure the line is routed correctly so you can attach it after you get the bottom bracket installed.
- From under the car, make sure the bottom bracket is still aligned properly.
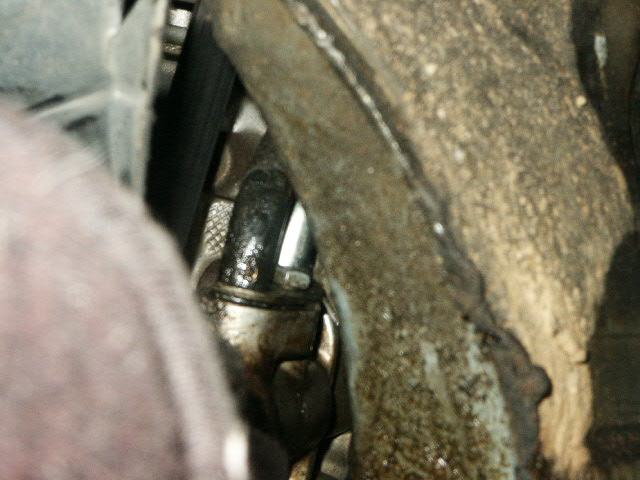
- Using the flat tip screw driver, tap the lip of the oil tubing into the hole GENTLY to make sure your tubing is in the hole all the way.
- Install the bracket that holds the oil lines in the housing they
are connected to. It was not possible to do from under the car so I
reached in behind the front tire, pulled the wheel well splash guard
back, and installed the bracket from that side while I reached in
from the under side, using 2 hands. I started the bolt with both
fingers and almost screwed it all the way in.

- From under the car, snug the lower bracket bolt.
- Install the bolt that goes in the lower bracket and screw it in until it is finger tight.
- Go to the top of the engine and install the top of the oil line.
Once you align it and push it in you will hear it click in place. I
believe that is all you need to do up top but I went the extra mile
and installed another wire tie.

- From under the car, tighten the bracket that holds the oil lines to the housing.
- Tighten the lower bracket.
- Lower the car and check the oil. Top off is necessary.
- Start the car and check for leaks.
- Take the car for a short drive (I drove about 5 miles), then check for leaks again.
- If you have no leaks, install your air scoop.


Please leave a tip, see the bottom of this page.
End of instructions.