Assembly Instructions For The WinBook J1 Laptop Computer

These instructions will guide you through several aspects of replacing parts on the WinBook J1 laptop computer.
You will need the following tools:
- Small standard tip screw driver.
- Small cross tip screw driver.
- Standard paper clip.
- A felt tip marker, like a sharpie.
- Shut down the computer.
- Remove the battery. Turn the computer upside down, unlock the latch that locks the battery release, then unlatch the larger battery latch to release it.
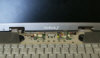
- Turn the computer back over and remove the power button panel
(which is part of the hinge covers). Using the small flat tip screw
driver, pry under hinge covers to release the clips, the hinge
covers will rise just a little. Then set the computer on its base
and open the lid. Using the small screwdriver, pry under the hinge
covers to lift them from the base. Once you get them up a little
more, lift the hinge edge of the panel button panel and the clips
will come loose and you lift it away.
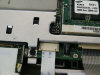
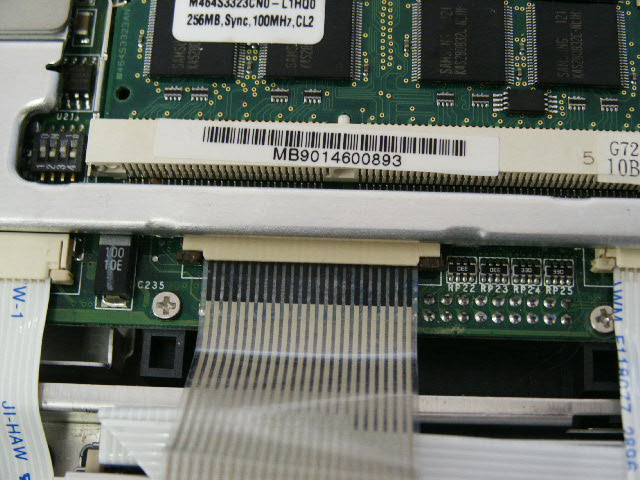
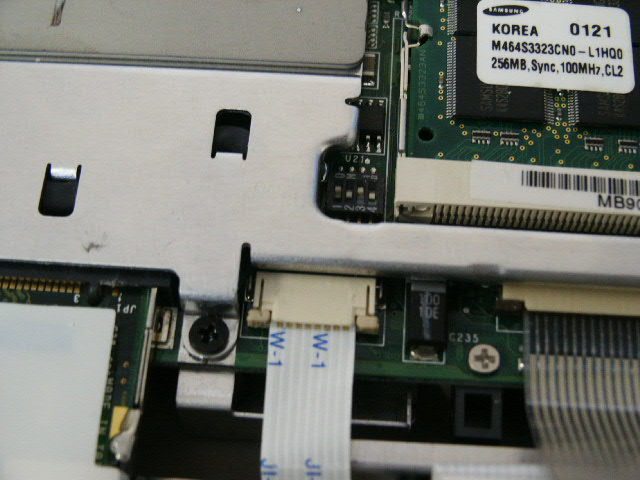
- Remove the monitor. Unplug the monitor cable that plugs into the
mother board (before you unplug this cable,
mark the side that is up with the marker so you will be able to
connect it correctly when you re-install the monitor). Unplug
the monitor converter cable that is also attached to the mother
board. Then remove the two screws from the monitor hinges (one on
each hinge). Turn the computer around and remove the remaining two
screws that hold the monitor hinges in place. Turn the computer back
around, release the monitor latch from the front edge of the
computer and lift the monitor from the computer base.


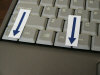
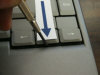
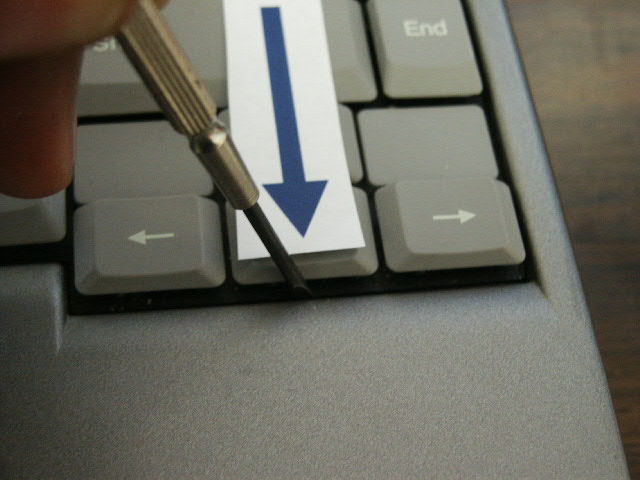
- Remove the keyboard from the computer base. There are four tabs
that hold the front edge of the keyboard in place. While lifting a
little on the "Fn" key, using the small flat tip screw driver,
release the tabs at the Fn, Alt, right Window and the Down Arrow
keys. Once the front edge is loose (up), slide the keyboard towards
the front edge a little to clear the rear edge guides, then flip the
rear edge of the keyboard over on to the palm rest. Once on the palm
rest you can move the metal plate under the keyboard towards the
rear edge of the computer so you can take the keyboard cable loose
from the mother board. Once that is loose you can remove the
keyboard and the metal plate under it.

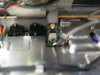
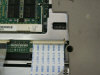
- Loosen and remove the 11 screws that hold the top of the base to the mother board / bottom.
- Un-fasten the touch pad ribbon from the mother board.
- Unplug the speakers from the mother board.

- Flip the computer over and remove the screws that secure the
bottom of the base from the mother board / top.

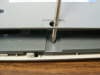
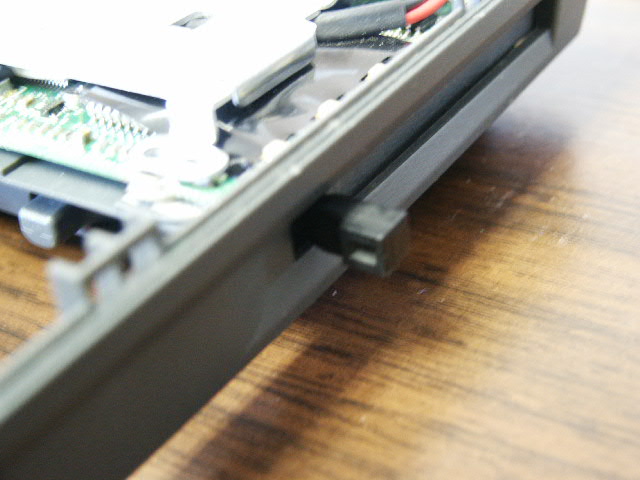
- Use the paper clip and eject the cd drive. Then pull the drive from the base.
- Remove the rubber tape from the bottom of the base near the cd
drive edge and remove the 2 screws under those holes.
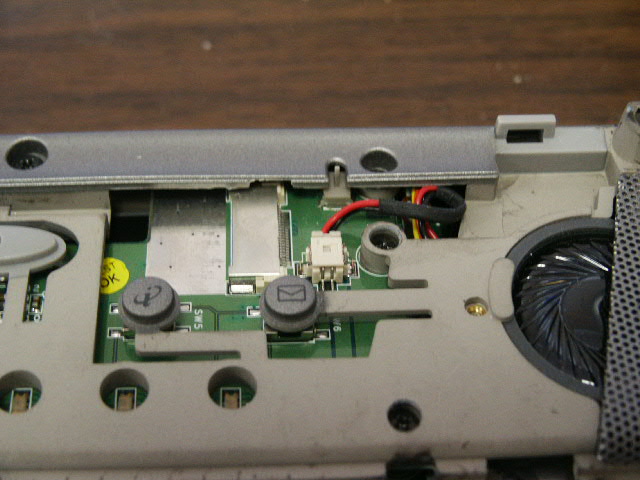
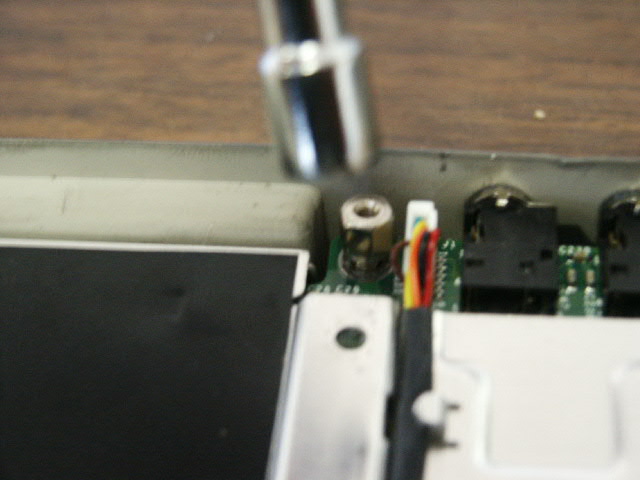
- Once you have all of the base screws removed you can unclip the
base bottom from the base top. Do this from the front edge, and be
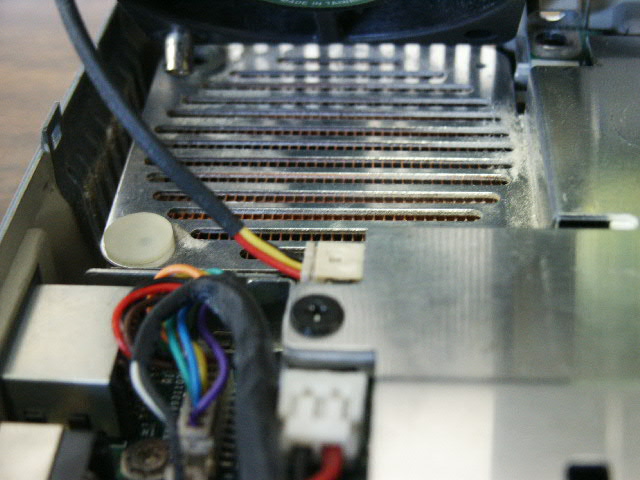
careful not to damage the wires that connect the mic & cooling fan.
I usually open it like a hinge, once it is open I unplug the mic and
fan wires from the mother board.

- Flip the computer back over and unplug and remove the 2 screws that hold the floppy drive in place. Remove the floppy drive.
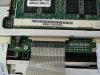
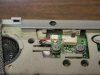
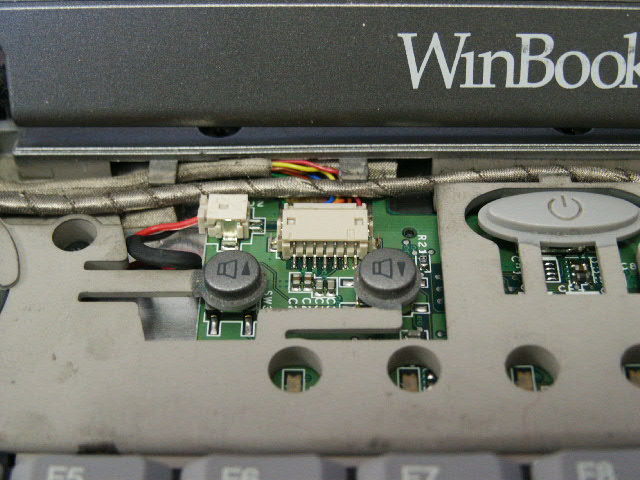
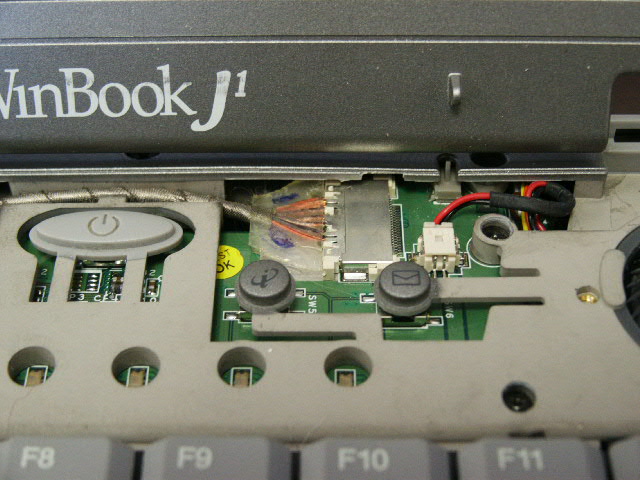
- To remove the mother board from the base you will need to unplug
the daughter board that has the power and volume buttons (it simply
unplugs), remove the 3 screws and 1 bolt. Lift the board from the
front edge and slide the rear of it out of the base
(you will usually have to press in the PCMCIA
eject latch to get the mother board to clear the base).

- If you need more access to the mother board you can remove the shields, etc.


Please leave a tip, see the bottom of this page.
End of instructions.