Dash Light Switch Bulb Replacement Instructions - Volvos 940, 960, S90, 850, S70 and V70

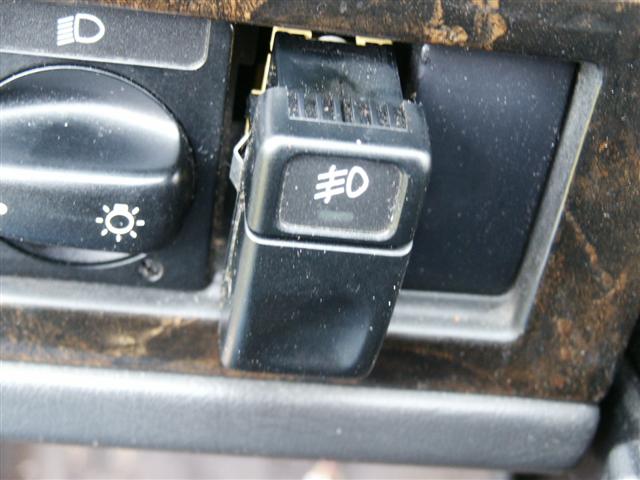
I think the '90 model Volvo's have good looking dash and switch controls. Unfortunately most of the cars have most of the bulbs burned out. It is pretty easy to replace the bulbs in the switches and other controls but you will need the bulbs. The instructions below show you how to safely remove the switches and replace the bulbs. Pretty easy but I just wanted to make sure a cave man could do it.
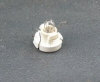
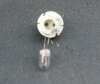
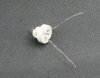
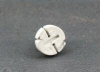
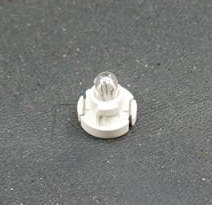
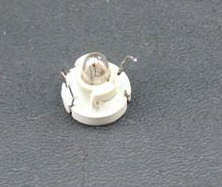
Most switches have bulbs with a 1/2" base, however, the INFO & FLASHER switches have bulbs with a very short base, about 3/16" base. One has a real long base, 13/16", can not remember which one. You should also know that the light knob and the flasher switch each have 2 bulbs.
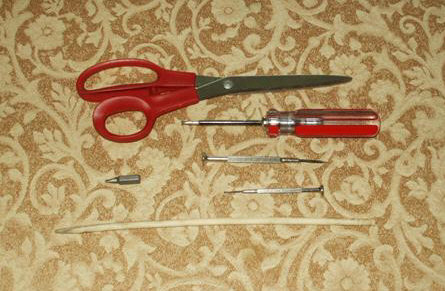
Tools Needed:
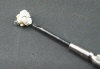
| Small flat tip screw driver or iPd dash bone tool. | Light bulb assembly or bulb. (For Sale Here) |
| Very small flat tip screw driver. | Something to protect the dash surface. |
| Additional Tools Needed To Replace Bulbs In The Sockets: | |
| Very small flap tip screw driver, eye glasses type. | Scissors |
Instructions:
-
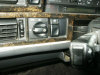
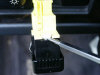
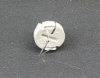
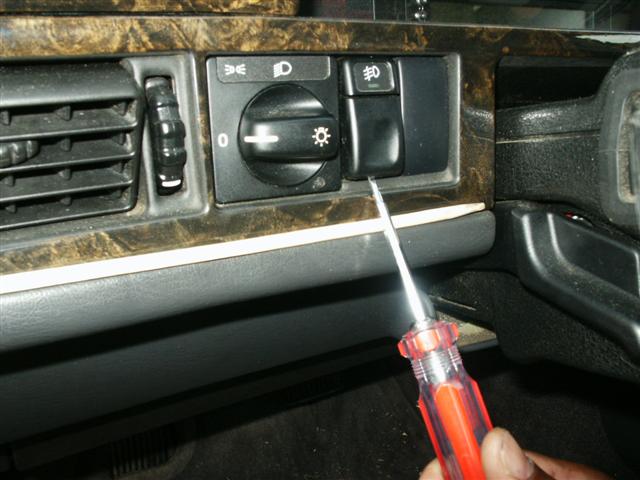
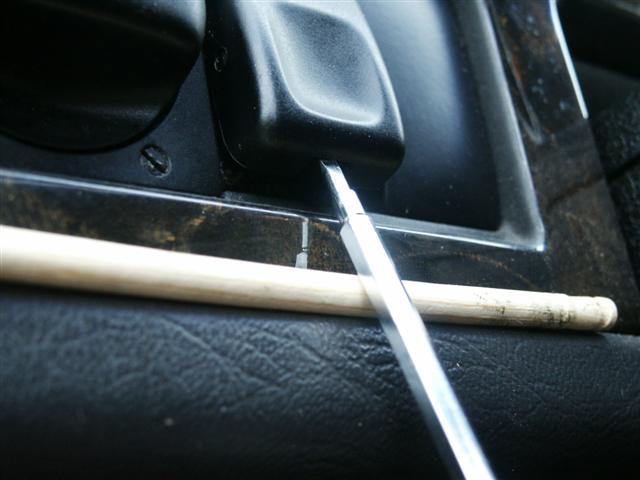
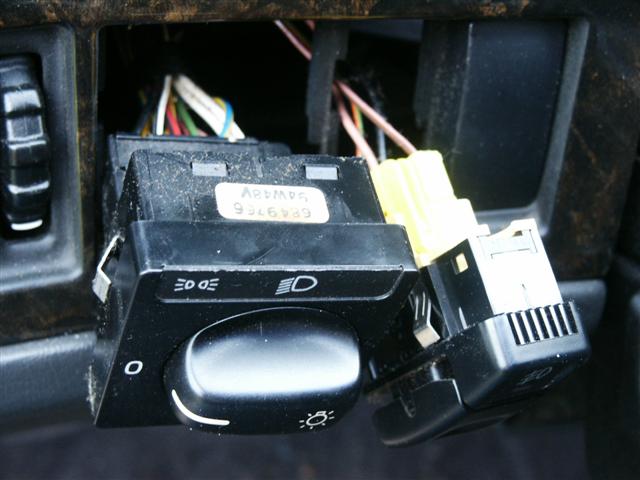
Using the small flat tip screw driver and whatever you are going to use to protect the dash (I usually use my finger to protect the dash), pry out on the lower part of the switch you are going to remove.


NOTE: Once the bottom of the switch starts to lift out of the dash, pinch the switch and rock it out. -
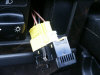
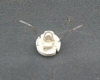
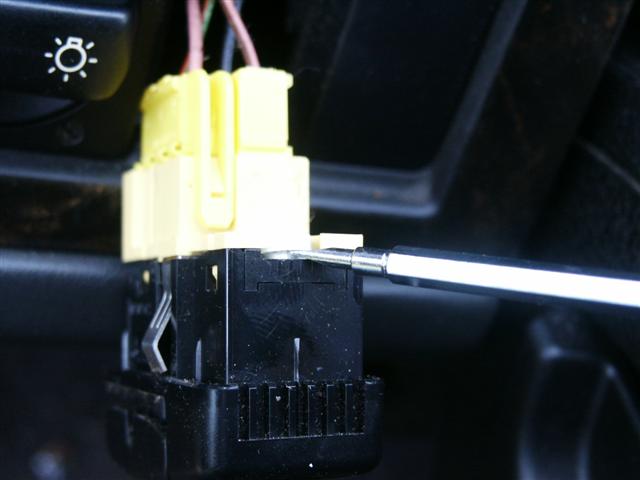
Once the switch is loose, gently pull it out far enough to tilt the switch to look at the back side with the bulb assembly. If you want, you can unplug the switch from the wire connection. It is not necessary unless you are going to replace the bulb in the INFO switch. Hold the switch and the wire plug and pull hard.
-
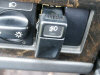
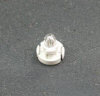
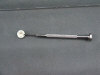
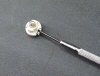
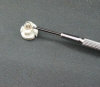
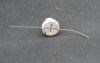
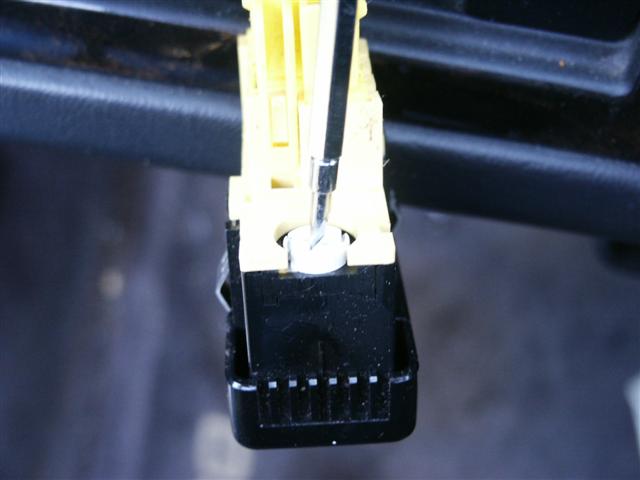
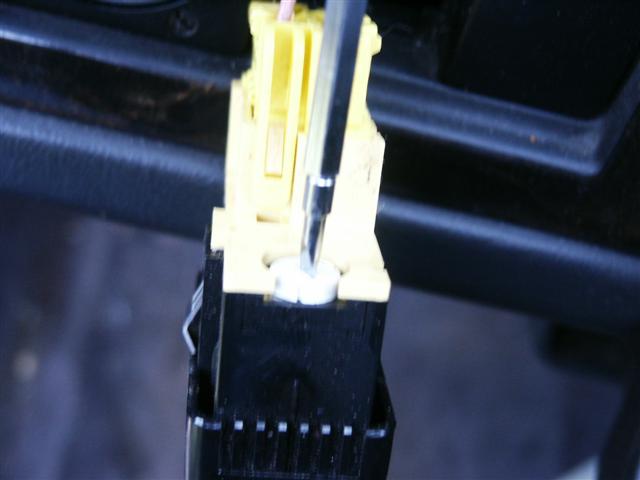
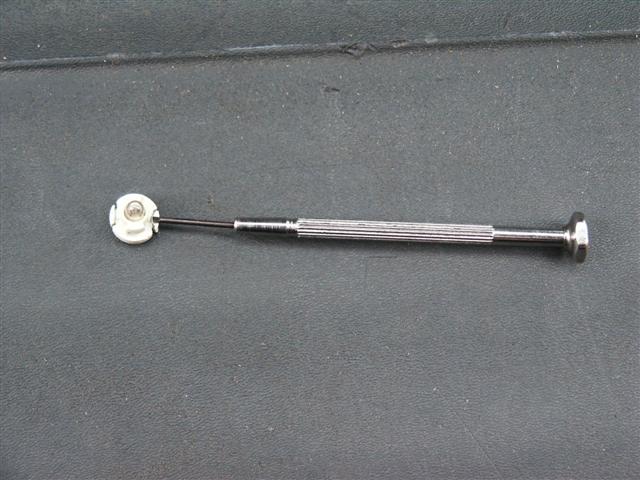
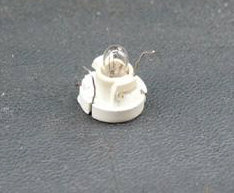
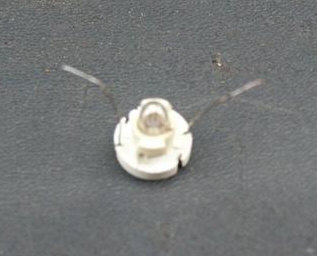
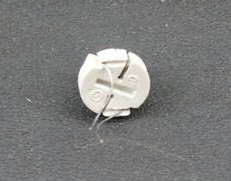
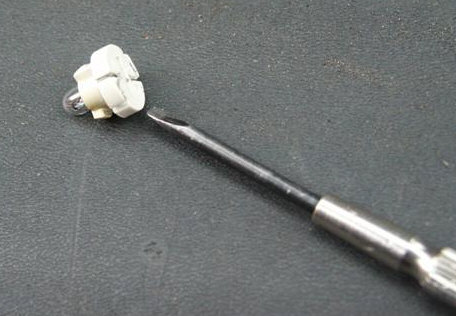
Using the very small screw driver, turn the light assembly about 1/4 turn, you will feel it stop.

-
Using the very small screw driver, try to lift the light assembly out of the switch. Sometimes you can flip the switch over and it will fall out, sometimes you will have to pry it gently out, sometimes you can tap on the switch and it will fall out. I hope you get the picture.

-
To get the other switches out of the dash sockets, put your fingers through the current open hold and push the others out through the back.

NOTE: If you have light bulb assemblies, reverse the steps above to change the assemblies. If you have bulbs that have wires without the bulb assembly base, complete the steps below. -
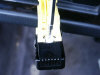
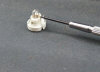
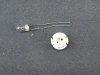
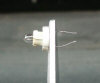
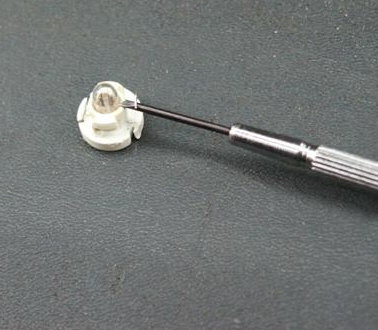
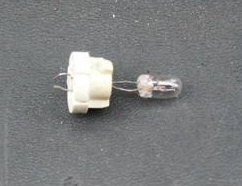
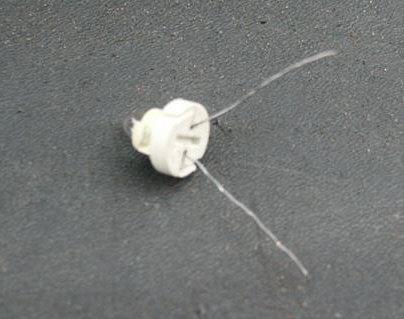
If you need to replace the bulbs in the bulb base, set the bulb on a flat surface and hold the assembly down tight.
-
With the very small flat tip screw driver, work the tip of the screw driver under the wire against the assembly base.
-
Once the screw driver is under the wire, pry up until the wire comes loose from the base.
-
Do the same on the other side.
-
Once both wires are loose, un-thread them from the assembly base.
-
Pull the wires to the bottom of the base.

-
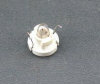
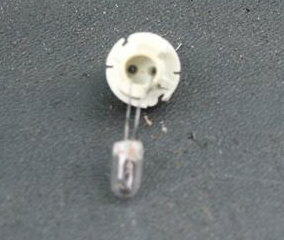
Lift the bulb out the tip of the base.
-
Thread the new bulb into the base.
-
Route the wires through the base channels.
-
Once you have the wires routed over the edge of the base, point the wires away from the bulb tip and clip them as close as you can with the scissors (try to leave about 1/8" over hang).
-
Once the wires are clipped, tuck them in the very bottom of the assembly base.
-
Install the bulb into the switch (reverse steps 5 - 2).


Please leave a tip, see the bottom of this page.
End of instructions.